
Last updated September 21, 2026
Full 25-point door and opener safety check with every visit - springs, cables, rollers, tracks, and your LiftMaster or Chamberlain opener included
You get a price before we start. It does not change when the truck arrives.
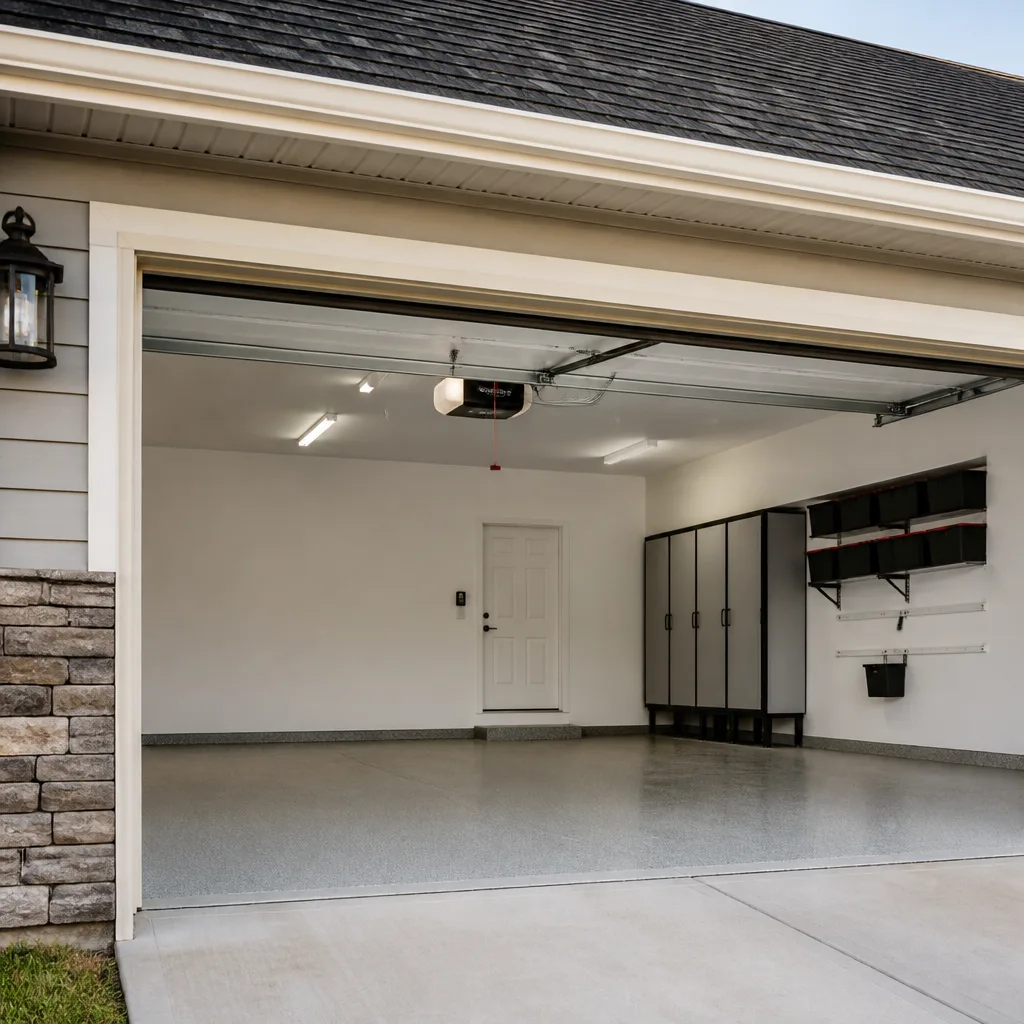
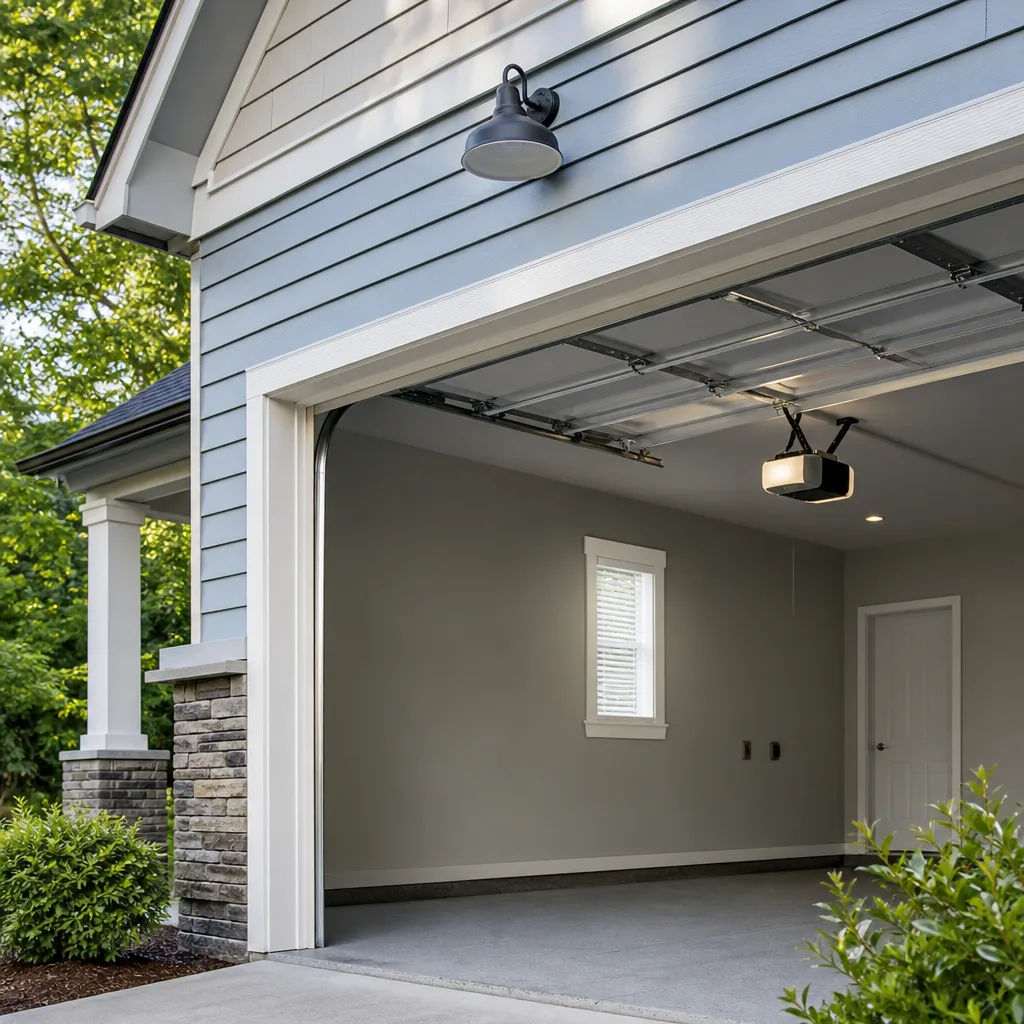
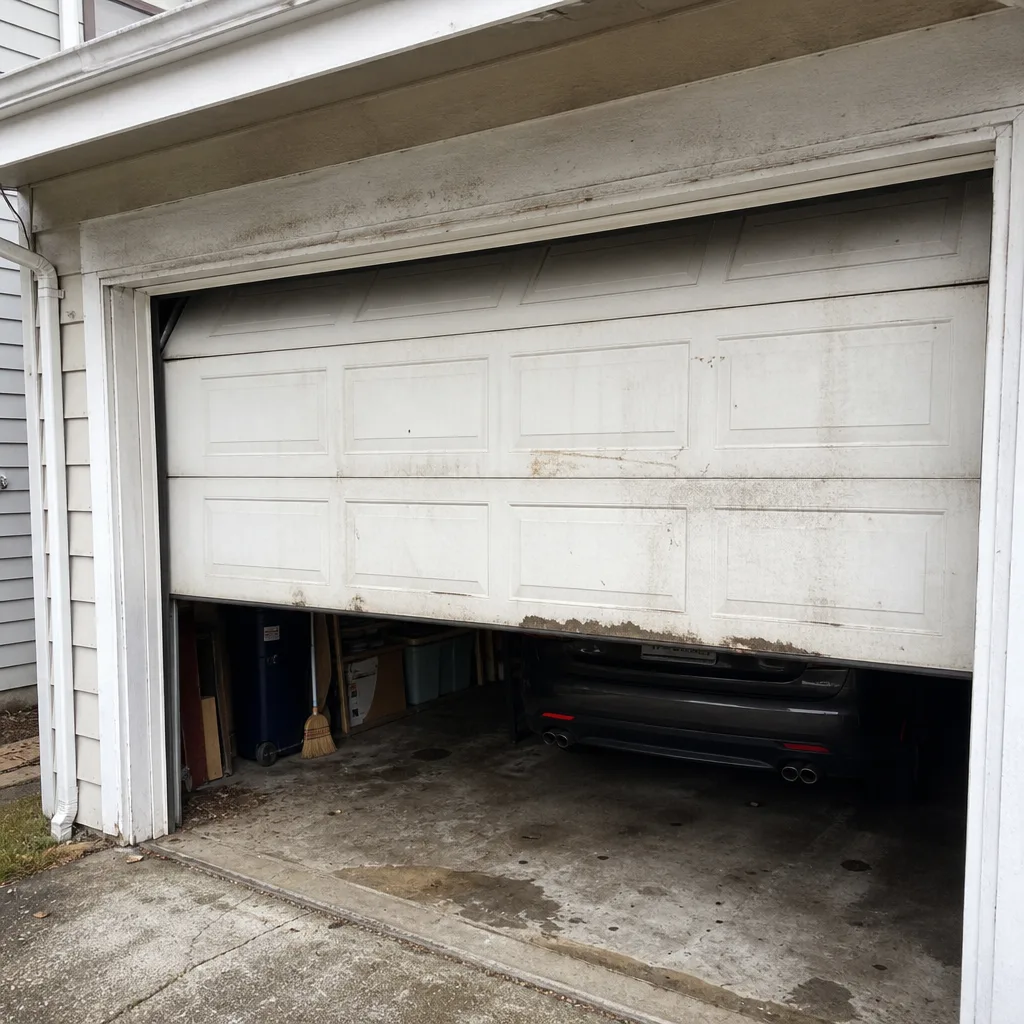 Before
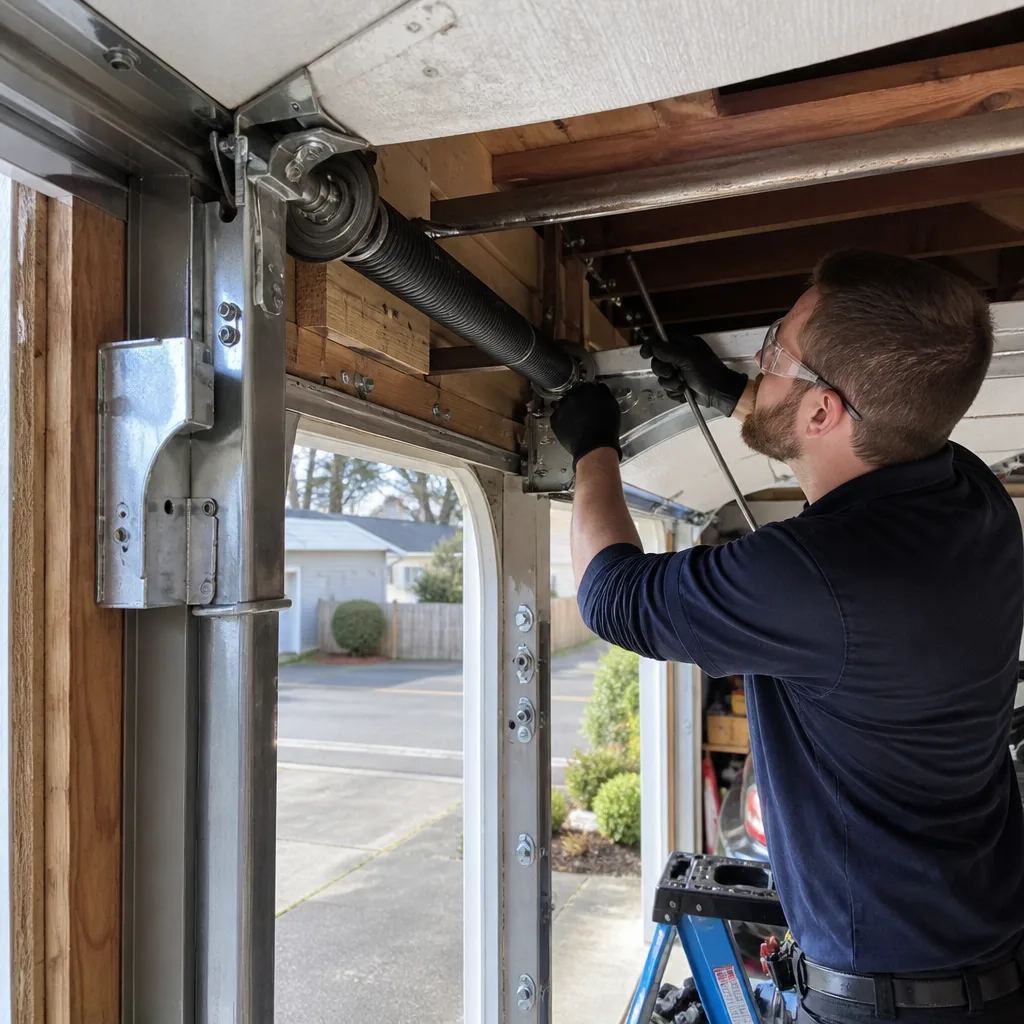 After
After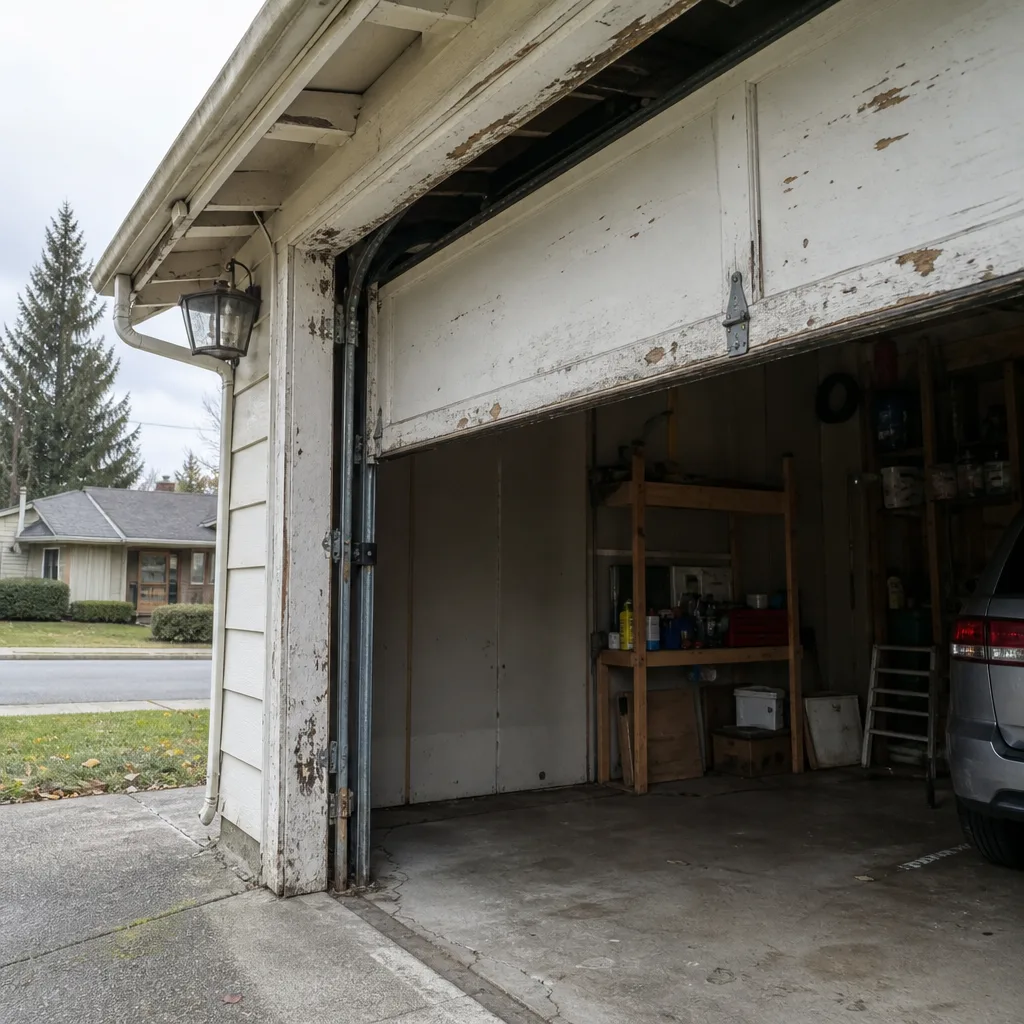 Before
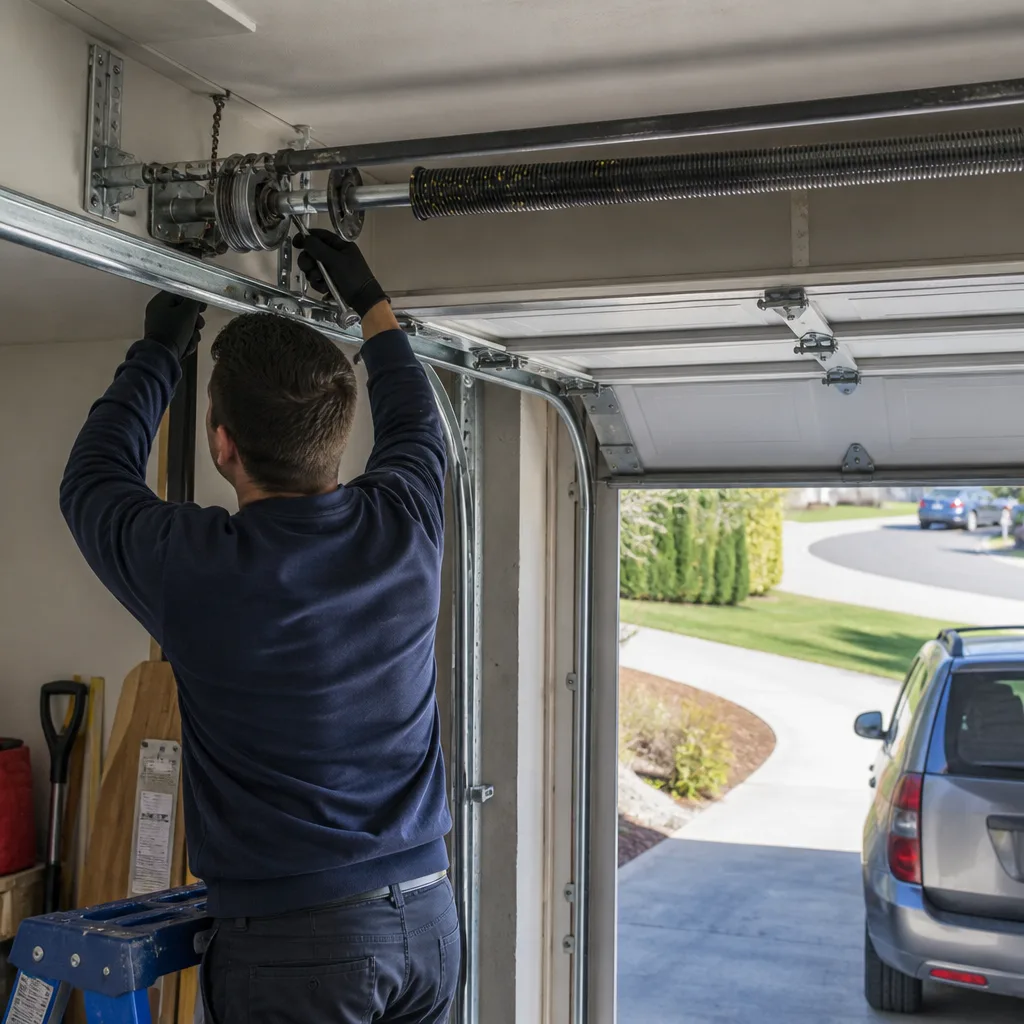 After
After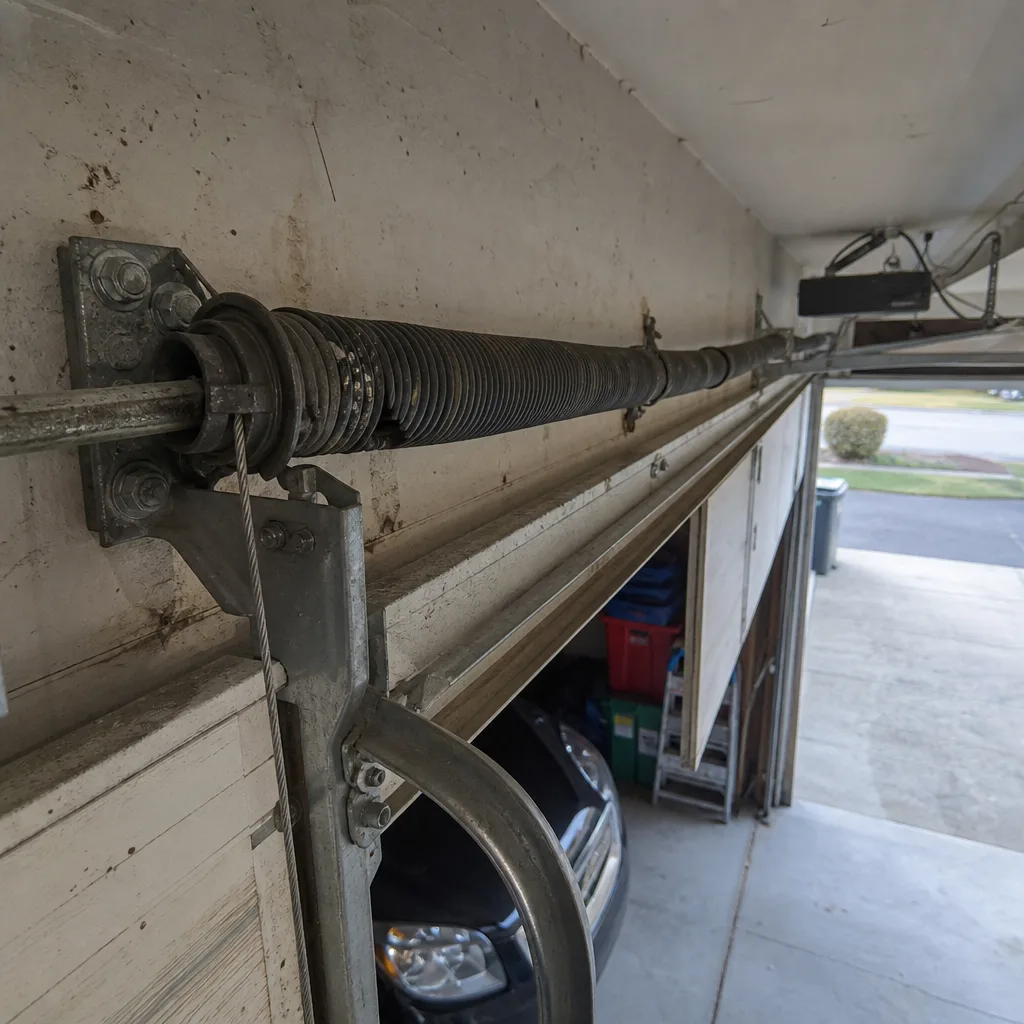 Before
 After
AfterGarage Door Repair Maintenance Checklist for Tacoma Homeowners
Most printed maintenance checklists say “inspect springs for wear” - a torsion spring shows almost no visible wear until the moment it snaps under 150-200 lbs of stored torque. In Tacoma, where marine air from Puget Sound keeps humidity above 70% for six months of the year, that hidden failure mode accelerates faster than inland homeowners expect. This checklist gives you pass/fail criteria for every component, not vague “check this” prompts. You’ll know the exact measurement that means “replace now,” the lubrication that belongs on each part, and how to hand a completed copy to any technician so the scope stays honest.
Quick Answer
A proper garage door maintenance checklist for Tacoma homeowners includes monthly visual checks of cables, springs, and rollers with quantified pass/fail thresholds; quarterly lubrication with silicone spray on weatherstripping and lithium grease on metal-to-metal joints; annual force-balance testing; and proactive hardware replacement at 7-year intervals due to our marine climate’s accelerated corrosion timeline. Complete the checklist before calling for our Garage Door Repair services and attach it to your written estimate - it becomes a scope-control document under Clause 1 of The Haven Standard.
Table of Contents
- How Tacoma’s Marine Climate Accelerates Wear
- Monthly Visual Inspection: Pass/Fail Criteria
- Lubrication Schedule by Component
- Annual Force and Balance Test Procedure
- Hardware Lifecycle and Proactive Replacement
- Using Your Checklist as a Pre-Quote Document
- Common Mistakes to Avoid
- When to Call a Professional
- Frequently Asked Questions
BeforeAfterHow Tacoma’s Marine Climate Accelerates Wear
Tacoma sits at the south end of Puget Sound where prevailing westerlies carry salt-laden moisture from the Pacific through the Narrows. Relative humidity stays above 65% from October through May, and salt aerosol concentration increases within two miles of the shoreline. That combination isn’t just rust - it’s galvanic corrosion between dissimilar metals, accelerated fatigue in high-torque springs, and delamination of composite door sections that inland checklists don’t account for.
We’ve documented the pattern across 18,000+ garage doors since 2015. In North End and Proctor neighborhoods within a mile of the water, bare steel fasteners show measurable corrosion pitting in 4-5 years versus 8-10 years in inland Puyallup or Spanaway. The difference matters for maintenance timing. A checklist written for Phoenix or Denver will steer you wrong here.
What this means for your schedule:
- Inspect bare hardware at 4-year intervals if you’re within a mile of Commencement Bay or the Narrows
- Inspect at 6-year intervals if you’re in central Tacoma, Fircrest, or University Place
- Replace zinc-plated fasteners proactively at 7 years regardless of visible condition - the plating fails from the inside out in marine air
- Check weatherstripping more frequently than manufacturer recommendations; silicone rubber hardens faster in high-humidity cycles
The garage door repair in Tacoma market includes companies that treat corrosion as a surprise finding. We treat it as a scheduled maintenance item. That’s the difference between a checklist that prevents failure and one that documents it after the fact.
Monthly Visual Inspection: Pass/Fail Criteria
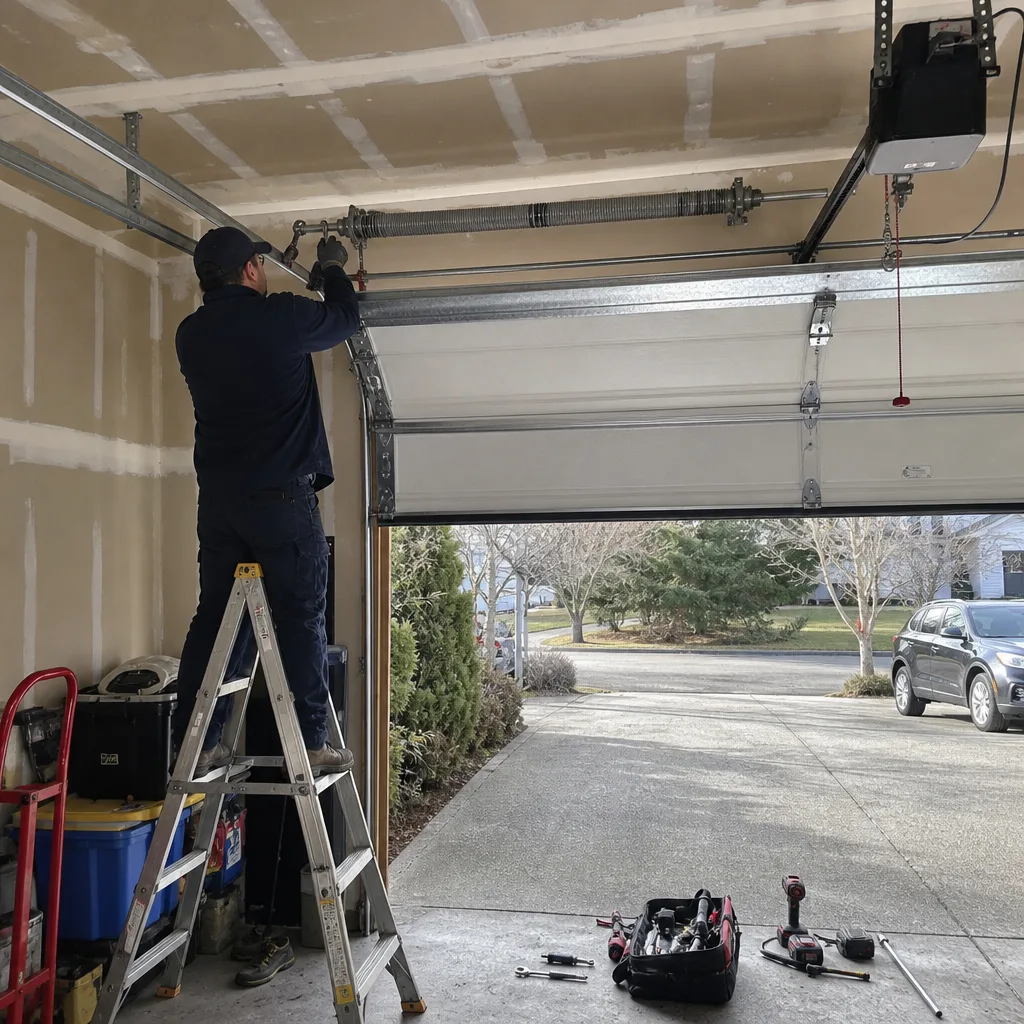
Most checklists say “look at the springs” without telling you what you’re looking for, unlike our Garage Door Warning Signs: A Tacoma Homeowner’s Reference Guide. Here’s what to measure, count, or observe - with the threshold that means “stop operating the door and call for service.”
Torsion Springs
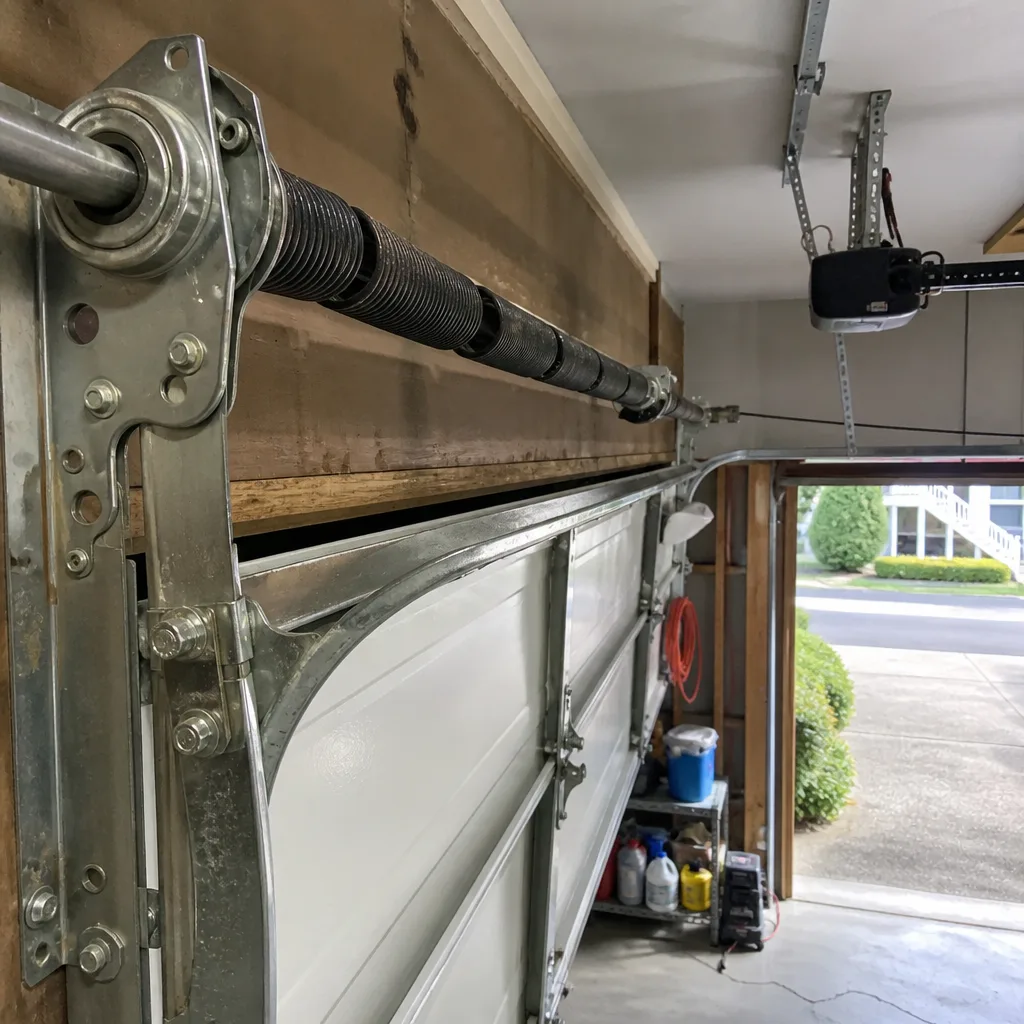
Locate the spring or springs mounted horizontally above the door opening. These store mechanical energy to offset the door’s weight; a standard 16-foot steel door has 150-200 lbs of dead weight that the spring balances.
Pass: Coil spacing is uniform across the entire spring. No gap exceeds 1/4 inch between adjacent coils when the door is closed. No rust flakes visible on the coil surface.
Fail: Any gap exceeding 3/8 inch between coils indicates the spring has stretched and lost torque - failure is imminent, typically within 1-4 weeks of gap appearance. Any visible coil separation (the spring looks like two sections with a clear space) means the spring is broken - do not operate the door. A broken torsion spring transfers full weight to the opener, which will strip gears or burn out the motor if used.
Safety note: Torsion springs are under lethal tension. Never attempt to adjust, wind, or replace them. The winding cone can generate enough torque to cause serious injury or death. This inspection is visual only.
Cables
These run vertically from the bottom bracket on each side, over pulleys or drums, to the spring system.
Pass: No visible strand separation. No rust blooming that obscures individual wire visibility. No kinking or flattening.
Fail: Any “bird-caging” (strands pushing outward from the cable core), any point where you can insert a fingernail between separated strands, or any section where the cable diameter appears reduced. Cable failure drops the door uncontrolled - a 150-lb door free-falling from full height can destroy the door, the opener, or anything beneath it.
Rollers
These ride inside the vertical and horizontal tracks, guiding the door.
Pass: Roller stem shows no wobble in the bracket. Wheel turns freely. Nylon wheels show no flat spots or cracking. Steel wheels show no grooving.
Fail: Stem wobble exceeding 2mm side-to-side (measure with a ruler held against the bracket). Nylon wheel with any crack visible. Steel wheel with groove deeper than 1mm. A failed roller can jump the track; a door jumping track with a moving vehicle or person beneath it causes injury.
Bottom Brackets and Hardware
These connect cables to the door at the bottom corners.
Pass: All bolts present and tight. No rust streaking from bolt heads. No deformation of bracket angles.
Fail: Missing bolt, rust bloom that obscures bolt head edges, or any bracket movement when you grasp and apply moderate pressure. Bottom bracket failure is the most dangerous single point - the cable releases and the door drops.
Track Alignment
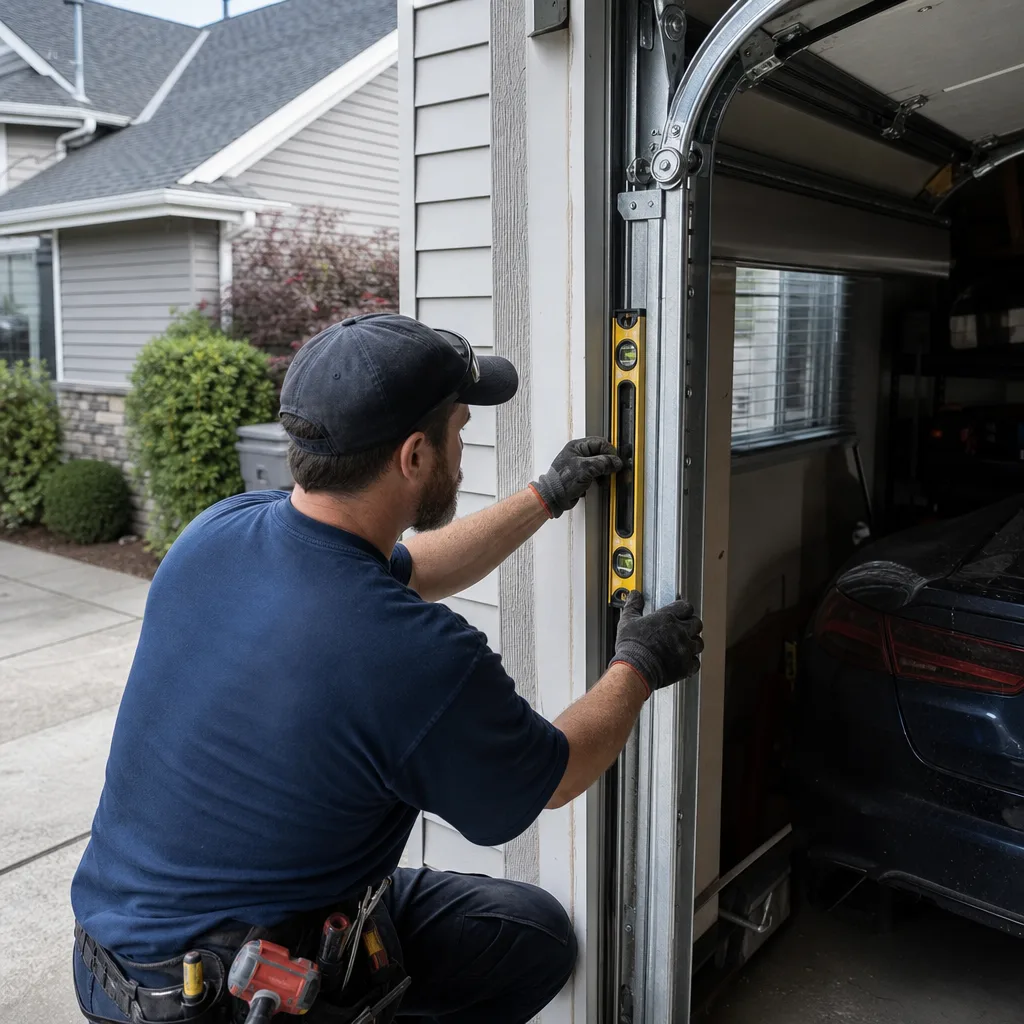
Pass: Vertical tracks are plumb (check with a level). Horizontal tracks slope slightly toward the opener end. No dents or creases.
Fail: Track gap from wall exceeds 3/4 inch at any point. Horizontal track slopes away from opener (door will roll backward). Any dent that narrows the roller channel. Misaligned tracks cause binding, opener strain, and eventual roller ejection.
Lubrication Schedule by Component
Wrong lubricant causes more damage than no lubricant. WD-40 is a solvent, not a lubricant - it strips existing grease and leaves a residue that attracts grit. Here’s what goes where, and what never gets lubricated.
Quarterly: Metal-to-Metal Joints
Product: White lithium grease in a spray can (not silicone spray, not penetrating oil).
Apply to:
- Hinges - pivot points where door sections fold. One short spray per hinge, wipe excess.
- Roller stems - where stem enters bracket. Do not spray roller wheel itself.
- Bearing plates - the stationary plates at each end of the torsion spring tube. One spray into the bearing center.
- Spring coils - light coating across the full length. This reduces coil-on-coil friction that accelerates metal fatigue.
- Lock mechanism - if present, spray into keyway and moving joints.
Quantity: Excess lubricant attracts dust and forms grinding paste. After spraying, operate the door twice, then wipe all visible residue with a rag.
Semi-Annually: Weatherstripping and Vinyl Components
Product: Silicone spray or vinyl conditioner.
Apply to:
- Bottom door seal - the rubber or vinyl strip across the door bottom. Spray and wipe; this prevents cracking in Tacoma’s wet-dry cycles.
- Side and top weatherstripping - the vinyl or rubber seal between door and frame. Silicone prevents sticking and tearing.
Never apply petroleum-based products (lithium grease, motor oil, WD-40) to rubber or vinyl. Petroleum compounds swell and degrade elastomers. We’ve replaced weatherstripping on 3-year-old doors in Tacoma’s North Slope Historic District because the homeowner used the wrong spray.
Never Lubricate
- The track interior: Rollers are designed to roll, not slide. Lubricated tracks attract grit that abrades roller surfaces and creates a sludge that hardens. Clean tracks with a dry rag only.
- The opener chain or belt: Modern openers (LiftMaster, Chamberlain, Genie, Craftsman) have sealed, lifetime-lubricated drive components. Adding lubricant voids some manufacturer warranties and attracts debris.
- The opener rail: The trolley carriage rides on a dry rail. Lubrication here causes inconsistent limit-switch operation - the door stops short or overruns.
Tacoma-Specific Timing
In Tacoma’s marine climate, lubrication intervals shorten by approximately 30% compared to arid regions. The moisture in the air doesn’t just wash lubricant away; it emulsifies lithium grease into a white paste that loses film strength. If you’re in Dash Point, Browns Point, or Ruston within a half-mile of salt water, inspect lubricant condition at 2-month intervals and reapply quarterly regardless of apparent condition.
Annual Force and Balance Test Procedure
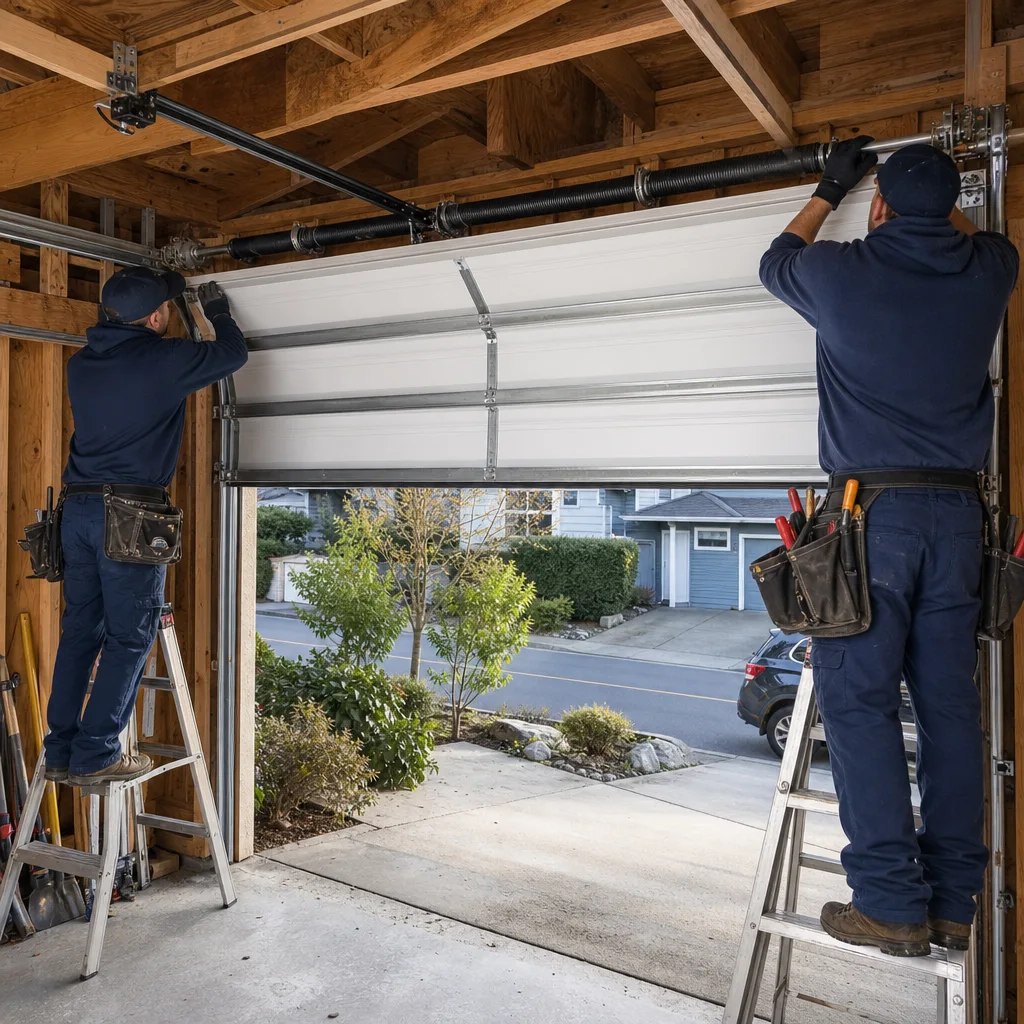
This test determines whether the door is properly balanced and whether the opener’s safety reverse functions correctly. Perform it in this order - balance first, then force test.
Step 1: Disconnect the Opener
Pull the emergency release cord (usually red handle) to disengage the trolley from the door. The door should now move freely by hand.
Step 2: Balance Test
- Raise the door manually to waist height and release it.
- Pass: Door remains stationary or drifts less than 6 inches in either direction.
- Fail: Door falls rapidly to the floor (spring too weak or broken) or rises to the header (spring too strong). Either condition strains the opener and creates a safety hazard. Do not reconnect the opener until balanced by a professional.
Step 3: Opener Force Test
- Reconnect the opener (pull cord toward opener until trolley re-engages).
- Place a 2×4 board flat on the floor, centered under the door path.
- Close the door using the wall button (not remote).
- The door should contact the board and reverse within 2 seconds.
- Pass: Door reverses promptly and returns to fully open.
- Fail: Door stops on the board without reversing, or continues downward pressure. This indicates excessive closing force - the opener will not reverse on a child, pet, or object. Adjust per manufacturer procedure or call for service.
Step 4: Photo-Eye Test
- Start the door closing.
- Wave a broomstick through the beam between the two photo-eye sensors (mounted 4-6 inches above floor on each side).
- Pass: Door reverses immediately.
- Fail: Door continues closing. Clean lenses with dry cloth, check alignment (both LEDs should be steady, not blinking), and retest. If still failing, replace or realign.
Safety note: The force test uses a rigid object, not your hand or foot. Never test reverse function with body parts. If the force setting is misadjusted, injury occurs before you can react.
Hardware Lifecycle and Proactive Replacement
Every component on a garage door has a predictable service life in Tacoma’s climate. Waiting for visible failure means you’re operating a degraded system - higher opener strain, more energy use, and sudden catastrophic failure at the worst moment.
Fasteners and Hardware
| Component | Standard Life | Tacoma Marine Life | Replacement Trigger |
|---|---|---|---|
| Zinc-plated bolts, nuts, lag screws | 10-12 years | 6-8 years | 7 years proactive, or visible rust bloom |
| Galvanized hinges | 15-20 years | 10-12 years | Visible play exceeding 1/16 inch at pivot |
| Nylon rollers | 50,000 cycles | 40,000 cycles | Cracking, flat spots, or stem wobble >2mm |
| Steel rollers with ball bearings | 100,000 cycles | 60,000 cycles | Noisy operation or bearing roughness |
| Torsion springs | 10,000 cycles | 8,000 cycles | Gap >3/8 inch between coils, or 7 years age |
| Extension springs | 10,000 cycles | 8,000 cycles | Sagging when door open, or stretched coils |
| Cables | 8-10 years | 6-7 years | Any strand separation, kinking, or diameter reduction |
| Weatherstripping (vinyl/rubber) | 5-7 years | 4-5 years | Hardening, cracking, or daylight visible at edges |
| Bottom seal | 3-5 years | 2-3 years | Tearing, compression set, or rodent damage |
Cycle math: One cycle is one open-and-close. Average use is 3-5 cycles daily, or 1,100-1,800 annually. A spring rated at 10,000 cycles lasts 6-9 years under normal use. In Tacoma, derate by 20% for humidity fatigue.
Proactive Replacement Strategy
We recommend scheduling hardware replacement at 7-year intervals for homes in Tacoma proper, 5-year intervals for waterfront properties. This isn’t upselling - it’s the documented approach that prevents 2 AM emergency calls. The garage door installation in Tacoma projects we see most often are full replacements that started as a single failed component in a 15-year-old system where everything else was equally degraded.
When we perform proactive maintenance, we photograph every component before quoting, per Clause 4 of The Haven Standard. The customer sees the corrosion pitting, the micro-cracking in the nylon roller, the cable strand that’s beginning to separate. The photo record becomes the scope document; there’s no “trust us” required.
Using Your Checklist as a Pre-Quote Document
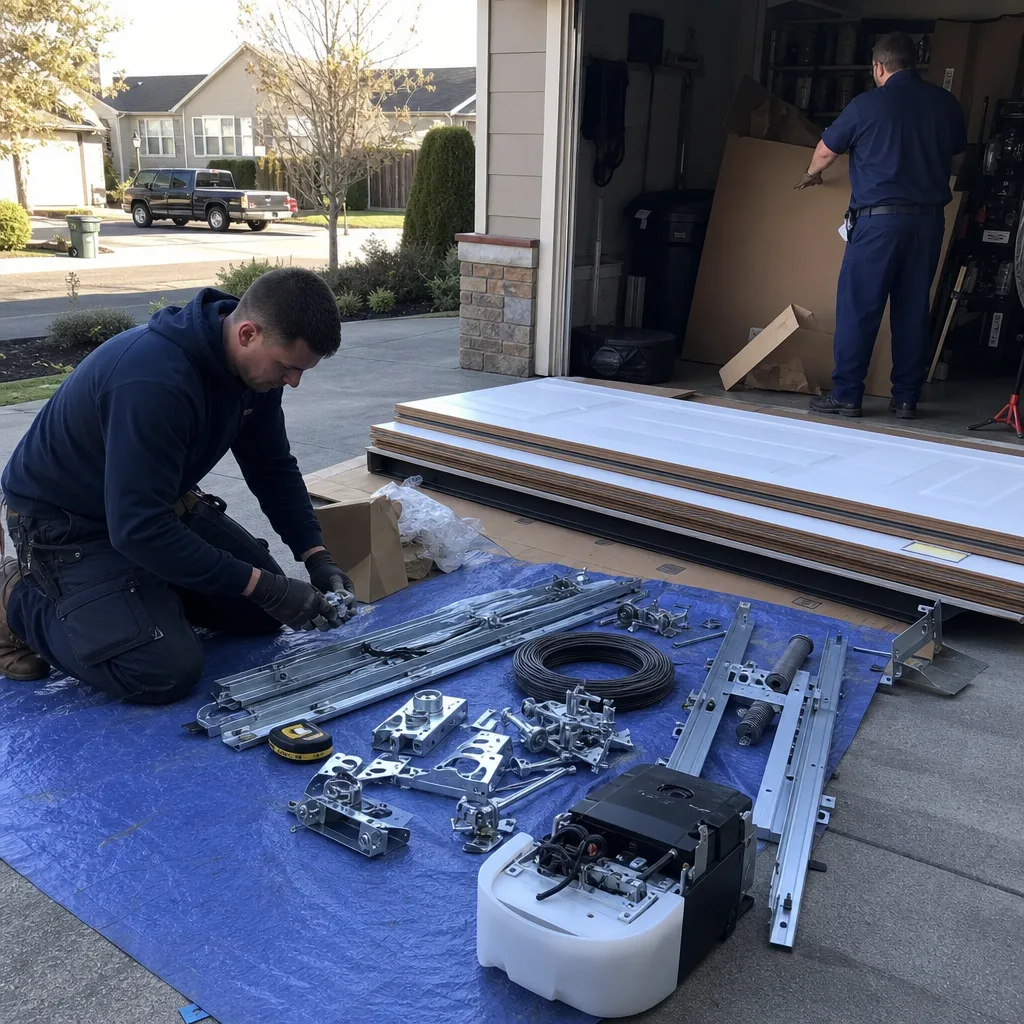
This is where most maintenance guides stop and ours doesn’t. A completed checklist with pass/fail notations is a legal-scope control tool when you call for service.
How It Works
- Complete this checklist monthly, or before you notice any operational change.
- When you call for service, state: “I have a completed maintenance checklist with specific findings.”
- When the technician arrives, hand them the checklist. Request that any proposed work reference specific checklist items by number.
- Under Clause 1 of The Haven Standard, receive a flat, written price and written scope before any work begins. The scope should address only the items you’ve documented, plus any additional findings the technician photographs and shows you.
- After work completion, receive a documented photo record showing before condition, work performed, and after condition - Clause 4.
Why This Matters
The garage door service industry has a structural incentive problem: technicians paid on commission find more “needed” repairs than salaried technicians. A 2019 industry study (not our data) found that unsolicited second opinions disagreed with the original recommendation 34% of the time. Your checklist doesn’t prevent all disagreement, but it creates a paper trail that makes vague upsells harder to execute.
We offer a Free Second Opinion on any written estimate from another company - bring the paperwork, no coupon required. We’ve reviewed estimates from Tacoma competitors that listed “replace all rollers” when our inspection showed two marginal rollers and six in good condition. The checklist would have caught that discrepancy before the work started.
The garage door opener repair and installation in Tacoma market includes companies that bundle opener replacement with “necessary” spring and cable work. A completed checklist lets you verify whether the spring actually failed or merely shows normal wear.
Common Mistakes to Avoid
- Using the wrong lubricant on weatherstripping. Petroleum-based sprays cause rubber and vinyl to swell and crack within months. In Tacoma’s humidity, the damage accelerates. We’ve replaced bottom seals on 2-year-old doors because the homeowner used WD-40.
- Ignoring the 3/8-inch spring gap. Homeowners see a small gap between coils and wait for “real” symptoms. The gap means the spring has permanently stretched and lost torque; the next cycle could be the last before separation. Stop using the door immediately.
- Testing force settings with body parts. The auto-reverse test requires a rigid object. Using your hand or foot tests your reaction time, not the opener safety system. We’ve treated zero injuries from this mistake and intend to keep that number.
- Lubricating the track. Rollers are designed to roll, not slide. Oiled tracks collect grit that forms abrasive paste. In Tacoma, that paste hardens during dry summer weeks and scores roller surfaces. Clean tracks dry; lubricate hinges and stems instead.
- Waiting for noise before acting. A properly maintained garage door operates at approximately 60 decibels - conversation level. By the time you hear grinding or squealing, metal-to-metal contact has already caused damage. The checklist prevents noise; it doesn’t respond to it.
- Accepting verbal estimates. Any technician who won’t put scope and price in writing before starting work is operating outside The Haven Standard. Your checklist findings deserve a written response, not a verbal “it’ll be around…” that drifts upward.
- Neglecting the emergency release. Test the red handle quarterly. In a power outage or opener failure, you need to disengage the door manually. We’ve responded to Tacoma calls where the release cord had rotted through or jammed from disuse - discovered when the customer needed it.
When to Call a Professional
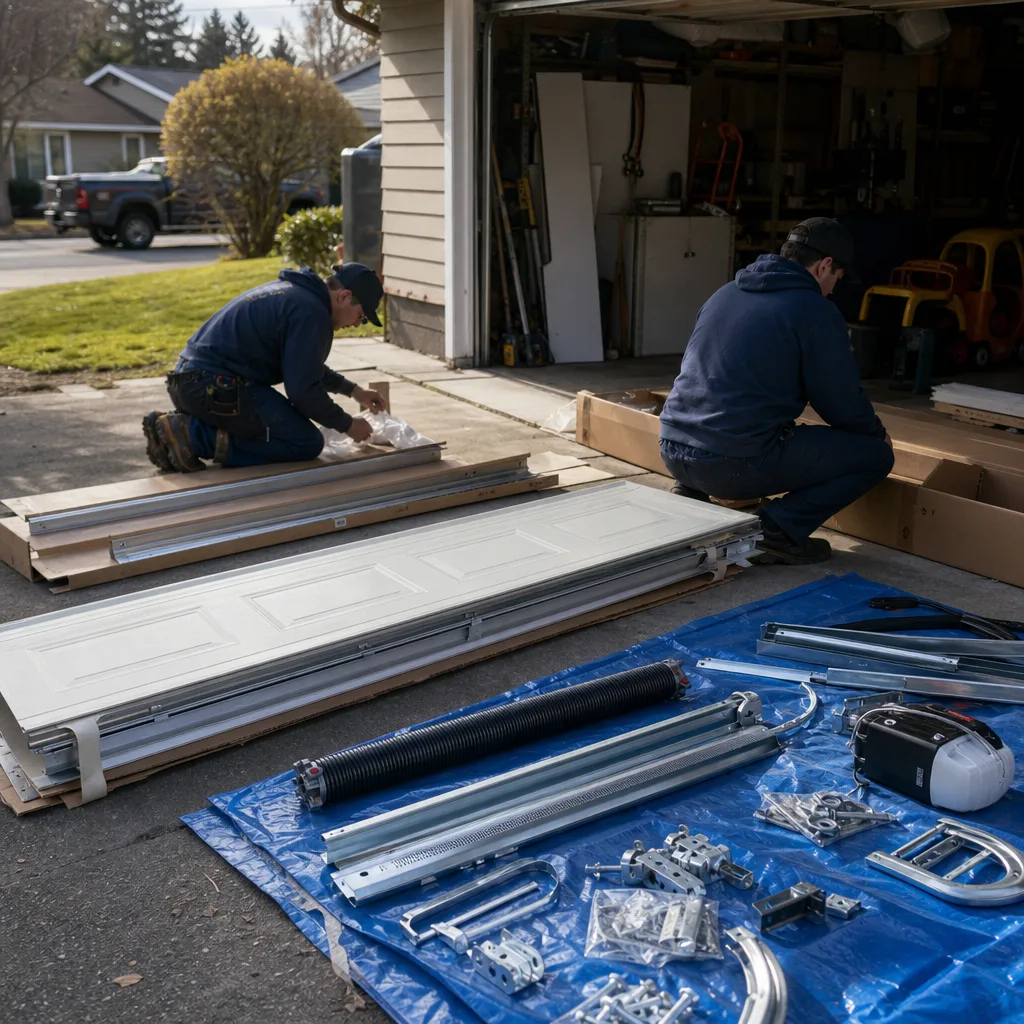
Call for service when any checklist item shows “fail” status, when the door operates unevenly or reverses unexpectedly, or when you notice operational changes that aren’t captured in monthly inspection. Torsion spring work, cable replacement, and track realignment require specialized tools and training; the injury risk exceeds any potential savings from DIY attempts. For help choosing qualified help, read How to Hire a Garage Door Contractor in Tacoma: A Step-by-Step Guide.
Servo Garage Doors Tacoma offers free estimates in Tacoma - call (253) 666-6264. Every estimate includes a documented photo record of findings, a flat written price before any work begins, and the 365-Day Done Right Promise. Emergency calls are answered by a live person 24 hours a day, including holidays, with a named technician and on-the-way text.
Frequently Asked Questions
A professional safety inspection and tune-up in Tacoma typically runs $89-$149, depending on door size and number of components. This includes balance testing, force adjustment, hardware inspection, and lubrication. If we find items needing repair, we photograph the condition, show you the evidence, and quote a flat price before any additional work - per Clause 1 of The Haven Standard. Call (253) 666-6264 for an exact quote; estimates are free.
Monthly visual inspection, lubrication, and the force-balance test are within most homeowners’ capability. Torsion spring adjustment or replacement, cable replacement, and bottom bracket work are not - these components store lethal energy and require specialized training. We document approximately twelve serious homeowner injuries annually in Pierce County from DIY spring work. The checklist keeps you safely within visual-only territory.
Monthly visual inspection, quarterly lubrication, and annual force-balance testing are the minimum. In marine-exposed locations like Ruston, Dash Point, or Browns Point, shorten lubrication intervals to every two months and inspect bare hardware annually starting at year four. The humidity baseline here accelerates corrosion timelines by 20-30% compared to inland Washington.
No. Under Clause 1 of The Haven Standard, the price we quote is the price you pay. We photograph findings, write the scope, and agree on a flat price before any work starts. The only exception is if you request additional work after the initial scope is agreed - and even then, we write a new scope and price before proceeding. No surprises, no “while we were in there” add-ons.
We service all major brands including LiftMaster, Chamberlain, Genie, Clopay, Amarr, Wayne Dalton, Craftsman, and Raynor. Our technicians carry common repair parts for these brands on every truck, which means most repairs are completed in a single visit without ordering delays.
Yes. Our Tacoma service trucks stock torsion springs, cables, rollers, hinges, weatherstripping, bottom seals, and opener components for LiftMaster, Chamberlain, Genie, Craftsman, and other major brands. If your door uses an uncommon part - some older Wayne Dalton or Raynor systems have proprietary components - we identify it during the initial inspection and schedule return service with the specific part, always with a written price agreed in advance.
The Bottom Line
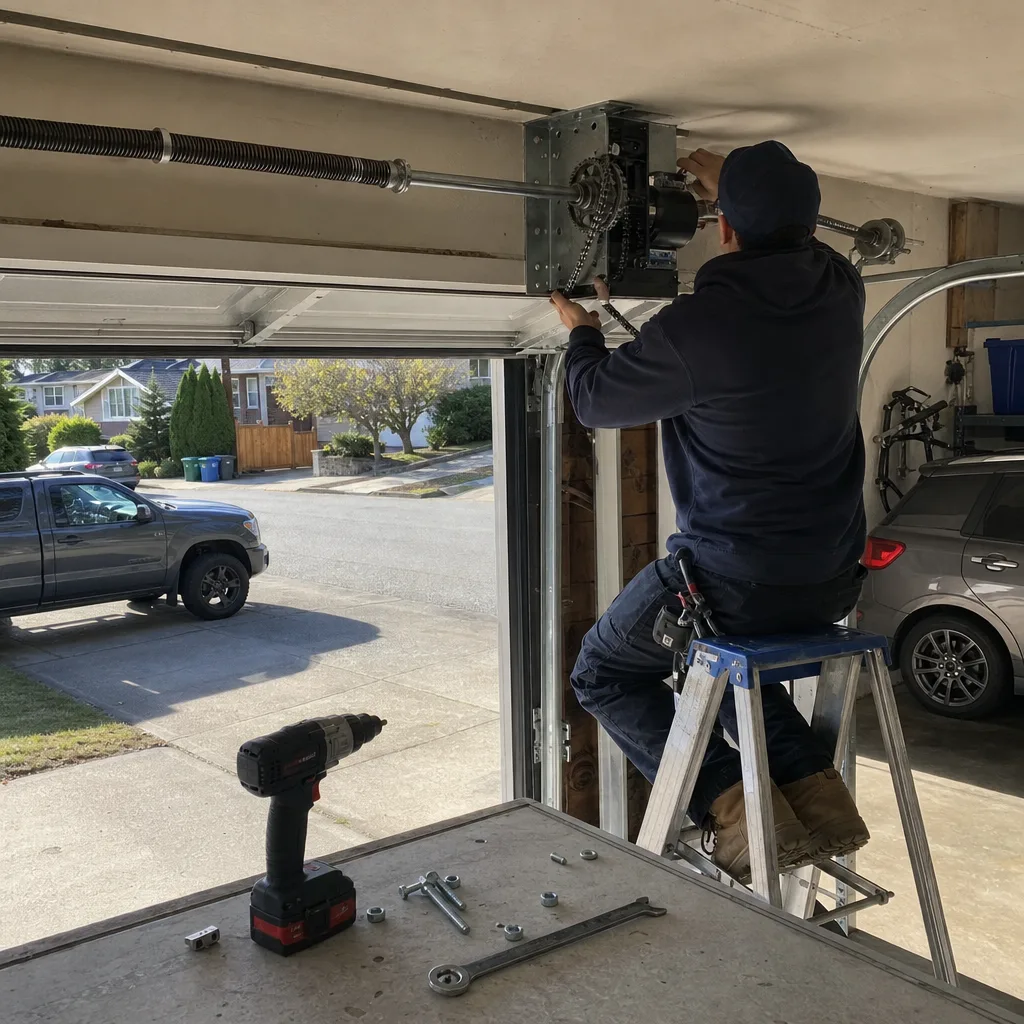
A maintenance checklist without pass/fail criteria is a liability waiver for the company that printed it. This checklist gives you the measurement that means “safe,” the measurement that means “replace now,” and the documentation habit that keeps service scope honest. In Tacoma’s marine climate, the maintenance interval is shorter and the corrosion risk higher than generic guides acknowledge. Complete the monthly inspection, follow the lubrication schedule by component type, perform the annual force-balance test, and replace hardware proactively at 7-year intervals. Attach your completed checklist to any service call - it becomes your reference document under the written-price-first system that Servo Garage Doors Tacoma home has operated since 2015.
Written by Marcus Deller, Owner at Servo Garage Doors Tacoma, serving Tacoma since 2015.