
Last updated September 21, 2026
Full 25-point door and opener safety check with every visit - springs, cables, rollers, tracks, and your LiftMaster or Chamberlain opener included
You get a price before we start. It does not change when the truck arrives.
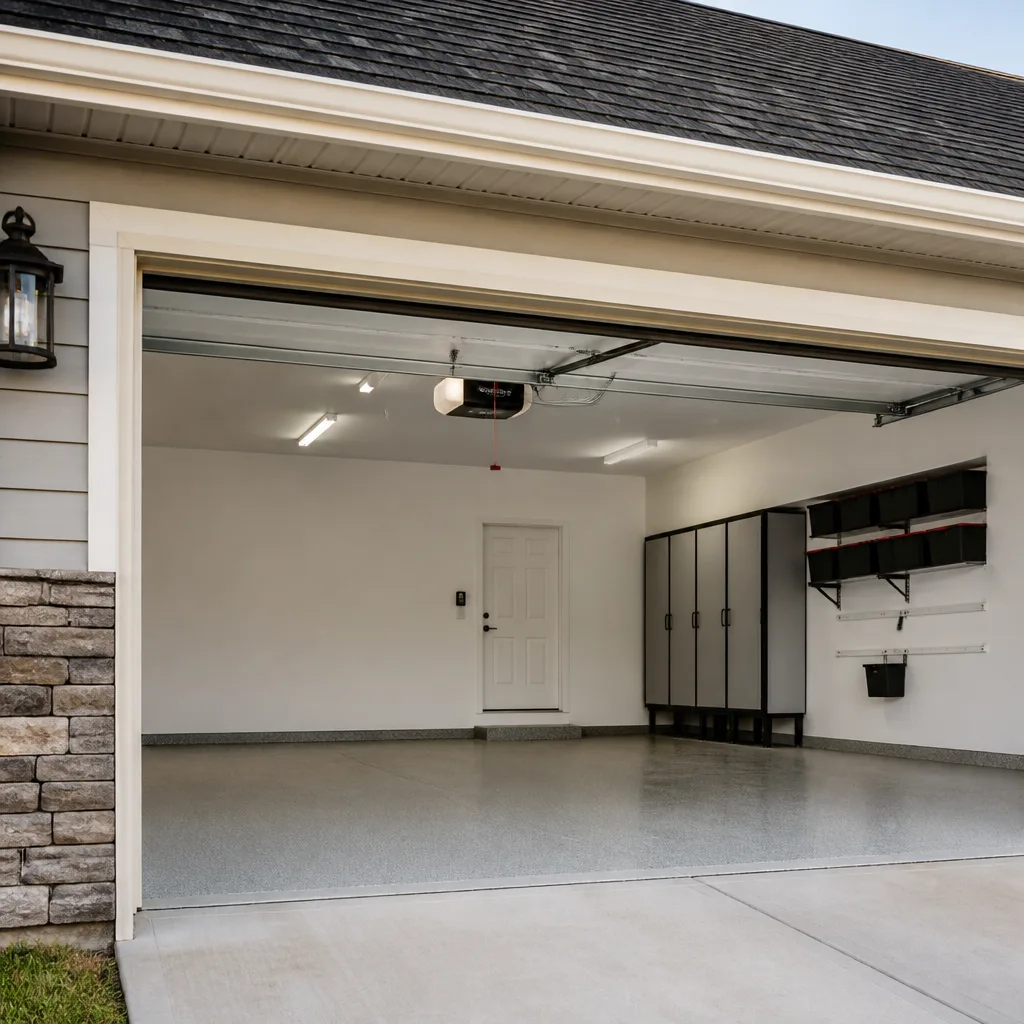
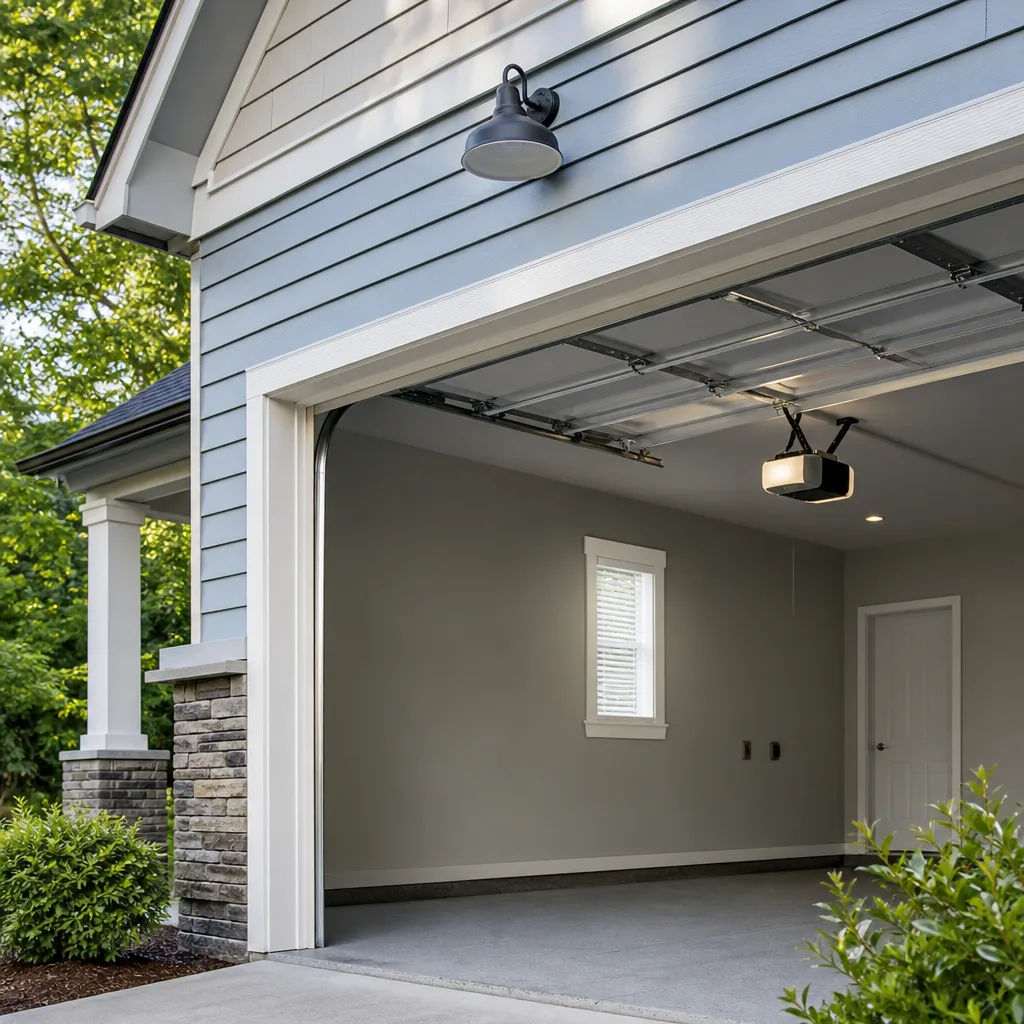
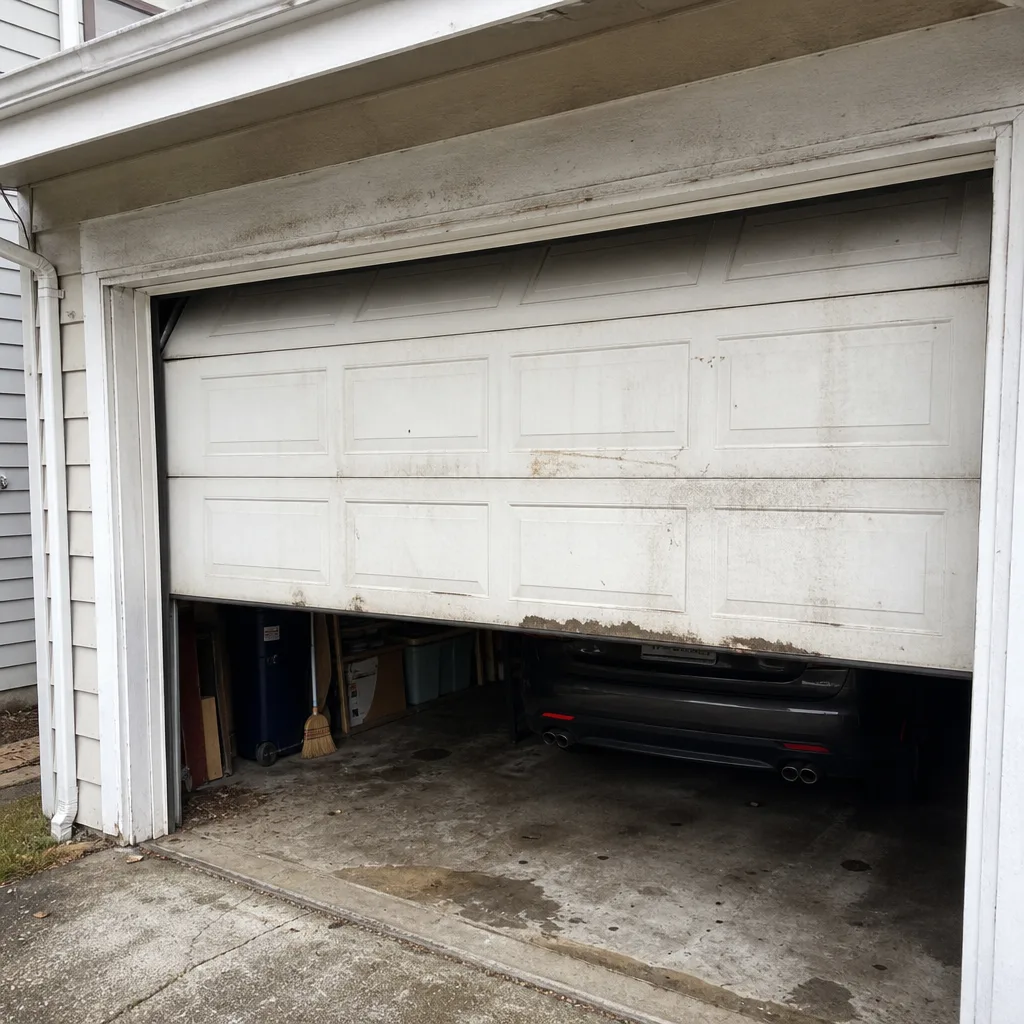 Before
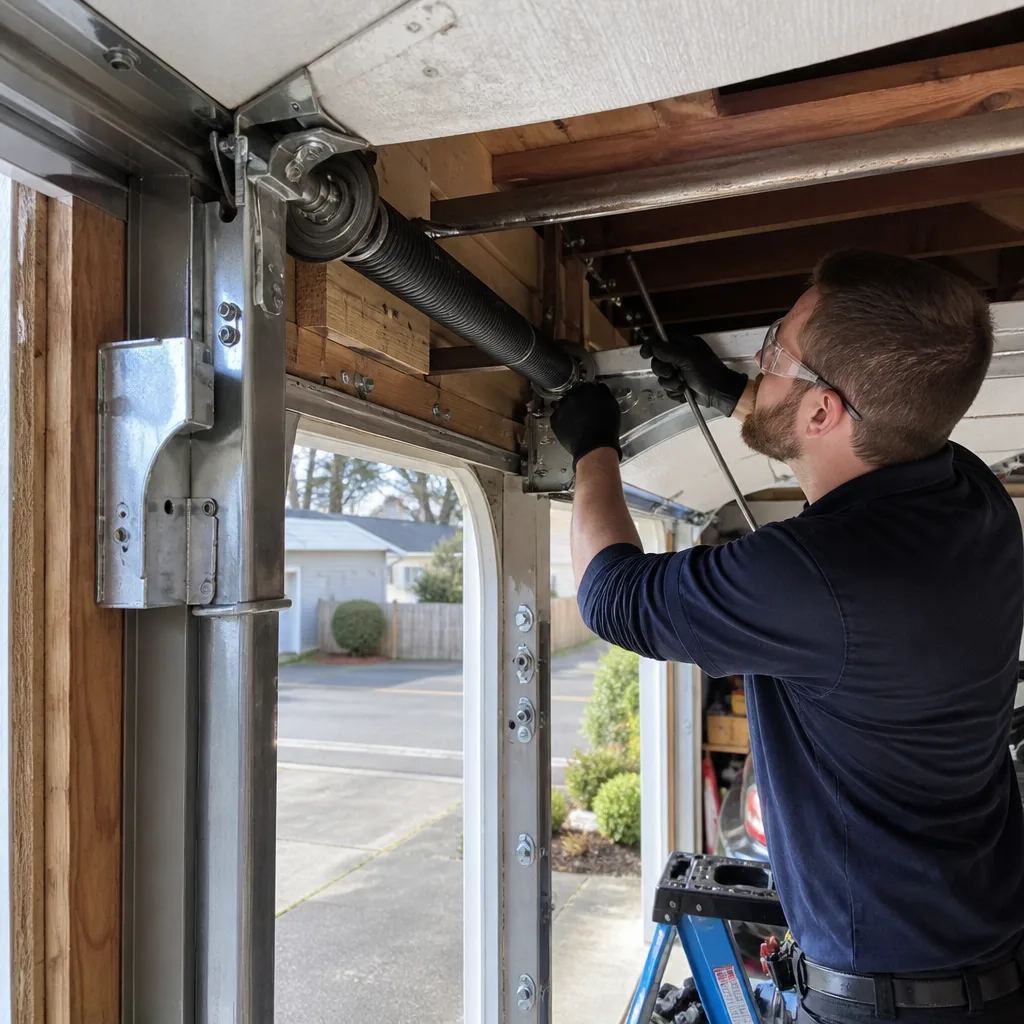 After
After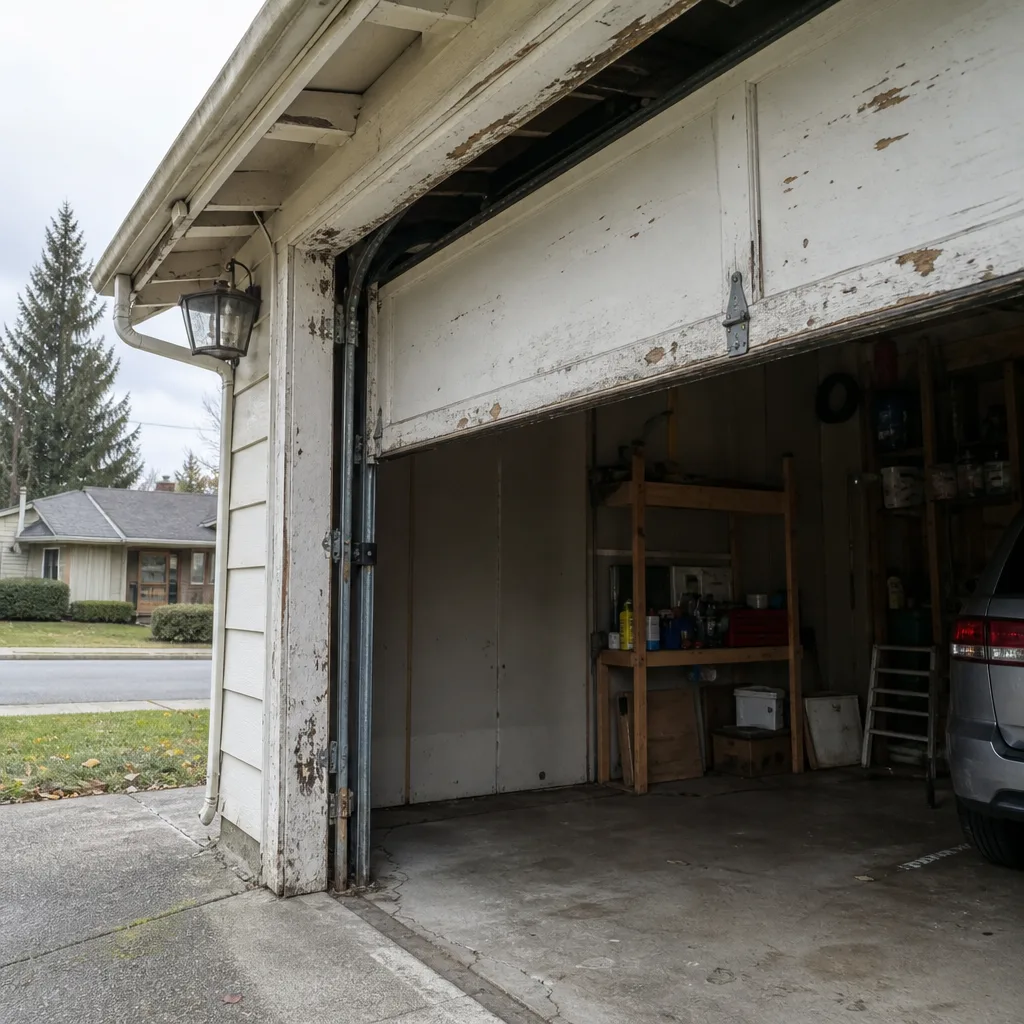 Before
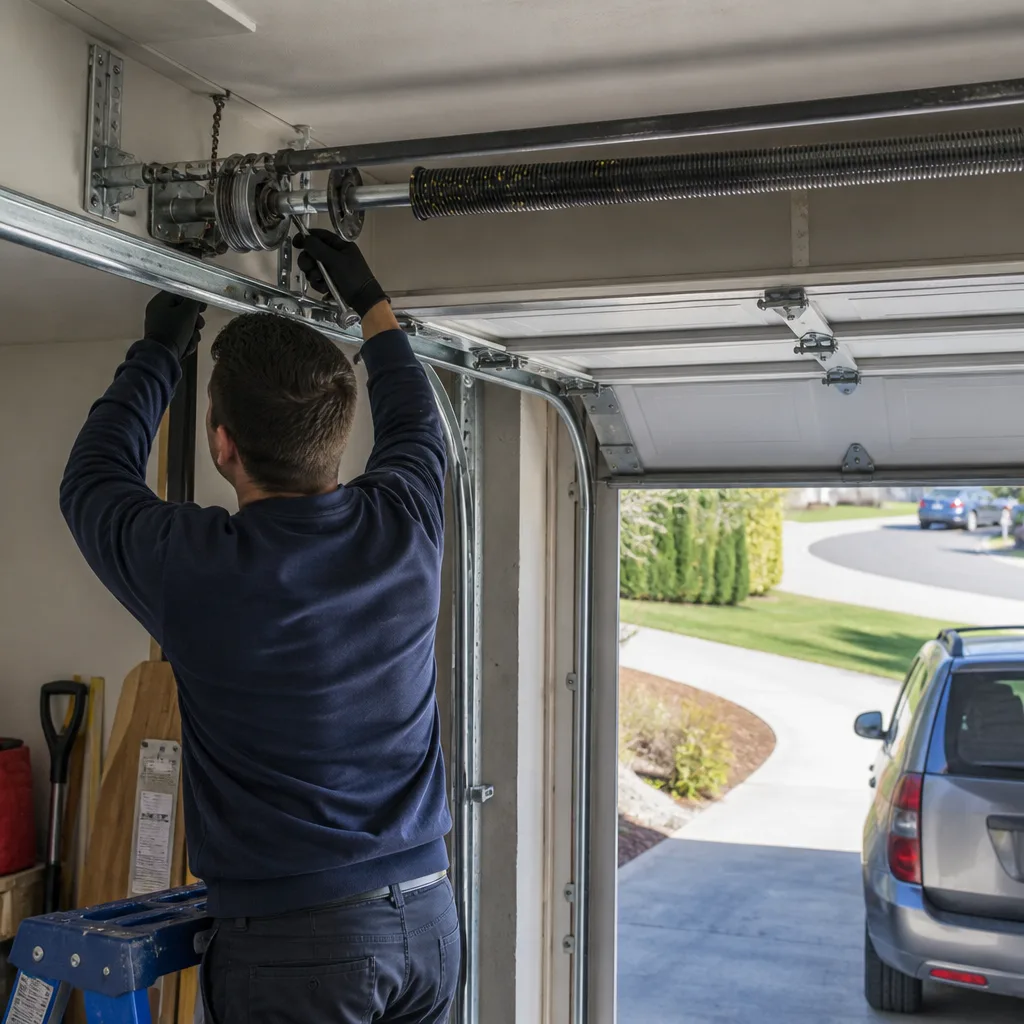 After
After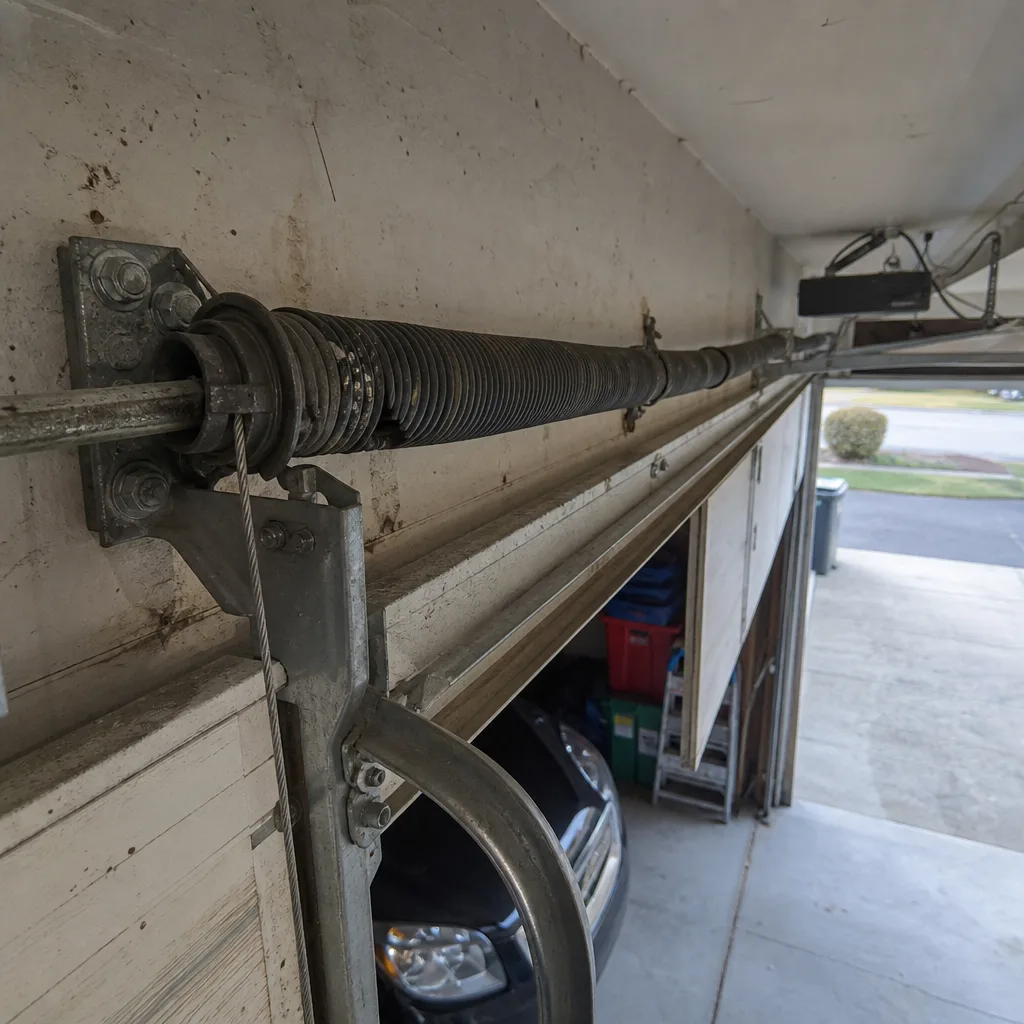 Before
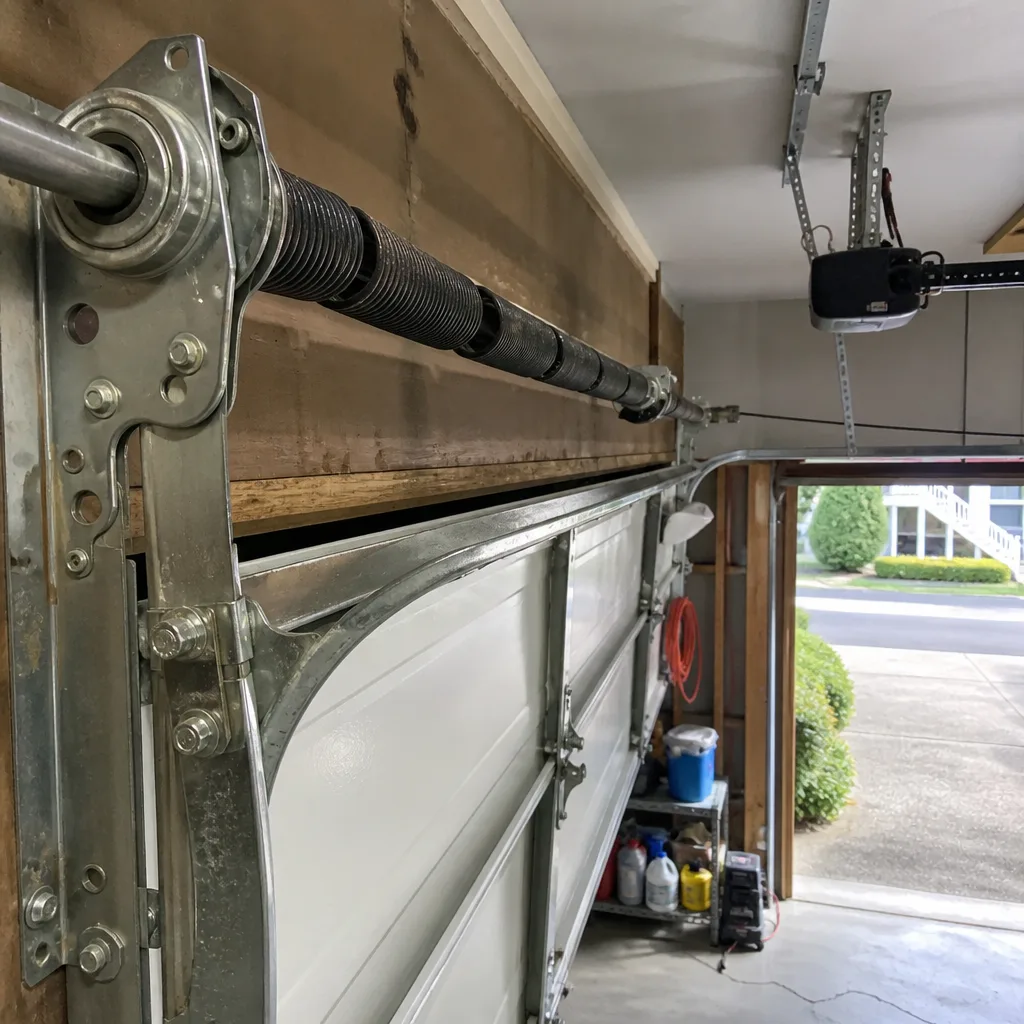 After
AfterDIY vs Professional Garage Door: The Tacoma Homeowner’s Decision Guide
YouTube hosts roughly 40,000 garage door repair videos. We’ve watched dozens, and almost none show what happens when a winding bar slips off a loaded torsion spring. A standard 7-foot residential door spring holds approximately 2 ft-lbs of torque per quarter-turn, multiplied by 30 turns. That’s 240 ft-lbs of stored mechanical energy releasing in under a second. The bar becomes a projectile; the spring unwinds with enough force to fracture bone. Tacoma homeowners researching garage door fixes online deserve better than footage that skips the physics. This guide sorts every common garage door task by actual risk, explains what Washington law allows you to do yourself, and shows you exactly where the DIY line sits for your specific door.
Quick Answer
Most Tacoma homeowners can safely handle photo-eye alignment, weatherseal replacement, opener keypad programming, and seasonal lubrication themselves. Torsion springs, cables under tension, bottom brackets, and any electrical work beyond resetting a breaker should be left to a trained technician. The dividing line isn’t skill level - it’s stored mechanical energy and insurance liability.
Table of Contents
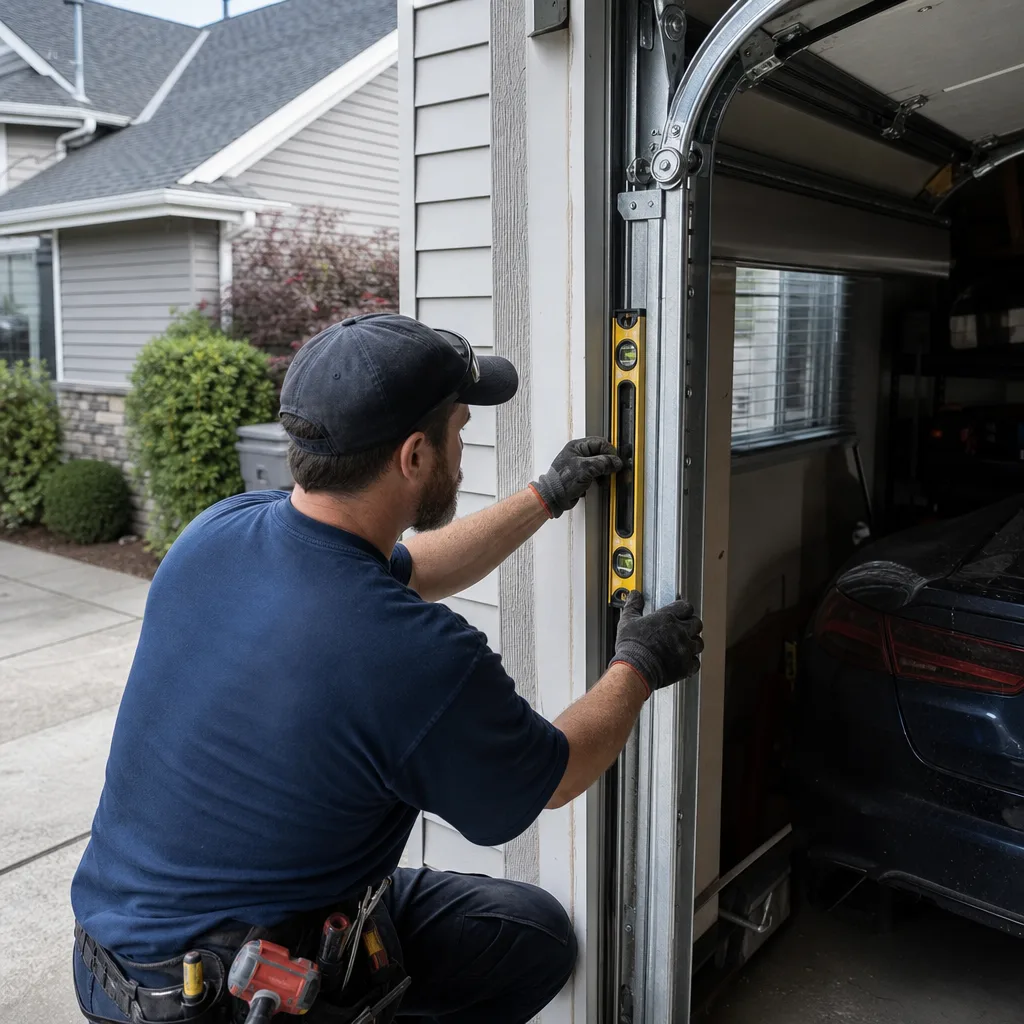
- Component-by-Component Risk Classification
- Washington L&I Rules: What Homeowners Can Legally Do
- True Cost Comparison: DIY vs. Professional in Tacoma
- The Documentation Difference: Warranties, Inspections, and Resale
- Three Tacoma DIY Jobs That Make Clear Sense
- When DIY Fails: The Correction Cost Nobody Talks About
- Common Mistakes to Avoid
- When to Call a Professional
- Frequently Asked Questions
BeforeAfterComponent-by-Component Risk Classification
Garage door systems contain components with radically different hazard profiles. Sorting them correctly prevents the most common mistake we see in Tacoma: a homeowner who feels capable because they successfully realigned a photo-eye, then assumes they can replace a torsion spring with the same confidence.
Safe DIY Zone (No Stored Energy, No Structural Load)
These tasks involve components that are either passive or operate at trivial force levels:
- Photo-eye alignment: The infrared sensors at the base of each track emit a low-voltage beam. Misalignment causes the door to reverse or refuse to close. Adjustment requires a screwdriver and patience, not strength.
- Weatherstripping replacement: The bottom seal (also called a weatherseal or astragal) slides into a retainer channel. No tension, no electrical connection. The old seal pulls out; the new one feeds in.
- Keypad and remote programming: Modern openers from LiftMaster, Chamberlain, and Genie use learn-button pairing. The process is in your owner’s manual, and there’s no physical risk.
- Seasonal lubrication: Silicone-based spray on rollers, hinges, and the top of the rail where the trolley rides. Avoid the track itself - lubricant there collects grit and accelerates wear.
- Travel limit adjustment: The opener’s limit switches tell the motor when to stop opening or closing. Screwdriver-turned dials on the motor housing set these. We’ll cover this in detail below.
Trained-Only Zone (Stored Mechanical Energy or Structural Load)
These components can cause serious injury or death if handled incorrectly:
- Torsion springs: The coiled steel above the door that counterbalances its weight. Winding and unwinding requires specialized bars inserted into the winding cone while tension is present. A slip or miscalculation releases catastrophic force. This is the injury we see most often from DIY attempts in the Tacoma area.
- Extension springs and cables: The stretched springs along the horizontal tracks, paired with safety cables that contain them if they break. Even with safety cables, the sudden release of a stretched spring can lacerate or strike with blunt force.
- Bottom brackets: The fixtures at the lower corners of the door where lift cables attach. These brackets are under constant tension from the spring system. Removing a bottom bracket without releasing spring tension first causes immediate, uncontrolled door drop.
- Garage door panels: A standard 16×7 steel door weighs 150-200 pounds. A single panel in a sectional door still carries significant weight and can pinch or crush during removal.
- Electrical work beyond breaker reset: The logic board in a modern opener handles 120V household current. Internal repairs require electrical competency and proper lockout procedures.
In the Hilltop and North End neighborhoods, we see a pattern: older homes with original wooden doors that weigh 250+ pounds. The spring system for these doors is even more heavily loaded than standard steel, and the hardware is often corroded from Tacoma’s marine-influenced climate. The risk profile increases with age and moisture exposure.
Washington L&I Rules: What Homeowners Can Legally Do
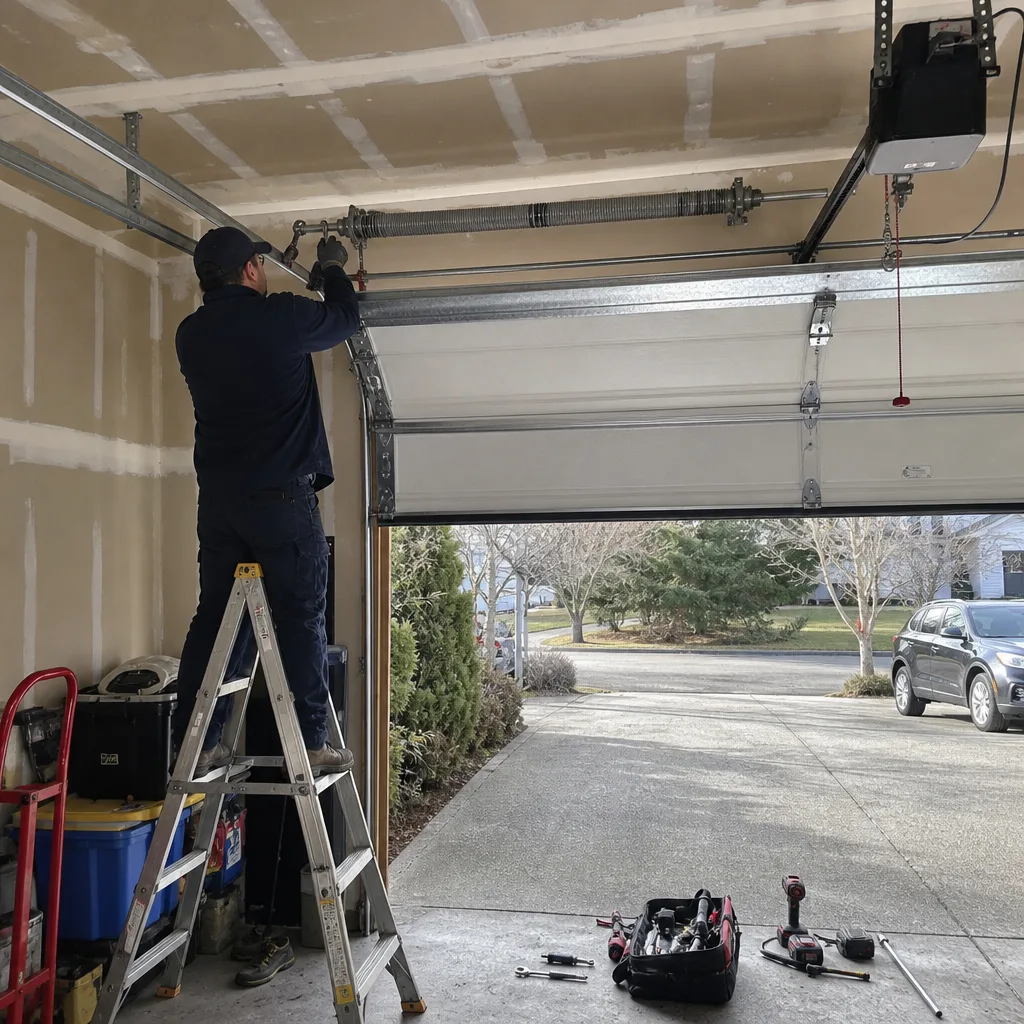
Washington State’s Department of Labor & Industries (L&I) governs contractor licensing, but the rules that matter here are simpler than they appear. A homeowner can perform any work on their own single-family residence without a contractor license. The limitations arrive through other channels.
What Homeowners Can Legally Self-Perform
On your own owner-occupied home, Washington law does not require licensing for garage door repair, maintenance, or even spring replacement. You can legally replace your own torsion spring at 2 AM with hand tools if you choose. L&I’s contractor licensing rules apply to work performed for compensation, not to homeowners working on their own property.
Where the Legal Risk Actually Lives
Three non-L&I restrictions affect Tacoma homeowners:
- Homeowners insurance: Most policies cover sudden, accidental damage. They do not cover damage caused by unlicensed work that violates manufacturer installation requirements. If your DIY spring replacement fails and the door drops onto your vehicle, your insurer may deny the claim if the work was not performed to manufacturer specifications. We’ve reviewed claim denials in Pierce County where the adjuster cited improper spring winding technique documented in photos.
- Manufacturer warranty: Clopay, Amarr, Wayne Dalton, and other major brands specify that warranty coverage requires professional installation and repair. A DIY spring replacement on a door still under warranty voids that coverage permanently.
- Home sale inspection: Tacoma’s active real estate market means many homeowners will sell within 5-10 years. A garage door with no documentation of professional service becomes a flagged item on inspection reports. Buyers and their insurers increasingly request maintenance records for major mechanical systems.
The practical reality: you can legally do the work yourself. Whether you should involves questions your insurance policy and future home sale will answer.
True Cost Comparison: DIY vs. Professional in Tacoma
The sticker price on a torsion spring at a Tacoma hardware store is $40-80. That number dominates most DIY cost calculations. It’s also incomplete by a significant margin - see our Garage Door Cost Breakdown: The Tacoma Homeowner’s Reference for 2026 for the full picture.
DIY Cost Breakdown: Torsion Spring Replacement
| Item | Cost Range |
|---|---|
| Torsion spring (single, standard wire) | $45 – $85 |
| Winding bars (2 required, solid steel, 18″) | $25 – $40 |
| Vise grips, adjustable wrench, socket set (if not owned) | $35 – $80 |
| Spring wire gauge tool (to measure old spring) | $12 – $18 |
| Ladder rental or purchase (8-foot minimum) | $25 – $120 |
| Time: research, purchase, execution, cleanup | 4-8 hours |
| Subtotal DIY | $142 – $343 + time |
Professional Cost: Same Job, Servo Garage Doors Tacoma
| Item | Cost Range |
|---|---|
| Installed torsion spring replacement (single spring, standard door) | $180 – $340 |
| Includes: spring, winding bars, labor, disposal, documentation | Included |
| Written price before work starts | Clause 1, The Haven Standard |
| 365-Day Done Right Promise | Included |
| Documented photo record of failed part and completed work | Clause 4, The Haven Standard |
| Time from call to completion | 1-2 hours |
The price gap narrows considerably when you account for tools you’ll use once, the time value of a weekend afternoon, and the cost of a professional correction if the DIY spring is wound incorrectly. An incorrectly wound spring fails prematurely - sometimes within weeks - and the door’s uneven loading damages the opener’s trolley carriage or the door sections themselves.
In Tacoma’s competitive housing market, we’ve corrected DIY spring jobs in Proctor, Stadium District, and Lakewood where the homeowner spent $160 on parts and tools, then paid $220 for us to remove the incorrectly installed spring, install the correct one, and inspect for damage to the opener. The “savings” became a $60 net loss plus a full Saturday.
The Documentation Difference: Warranties, Inspections, and Resale
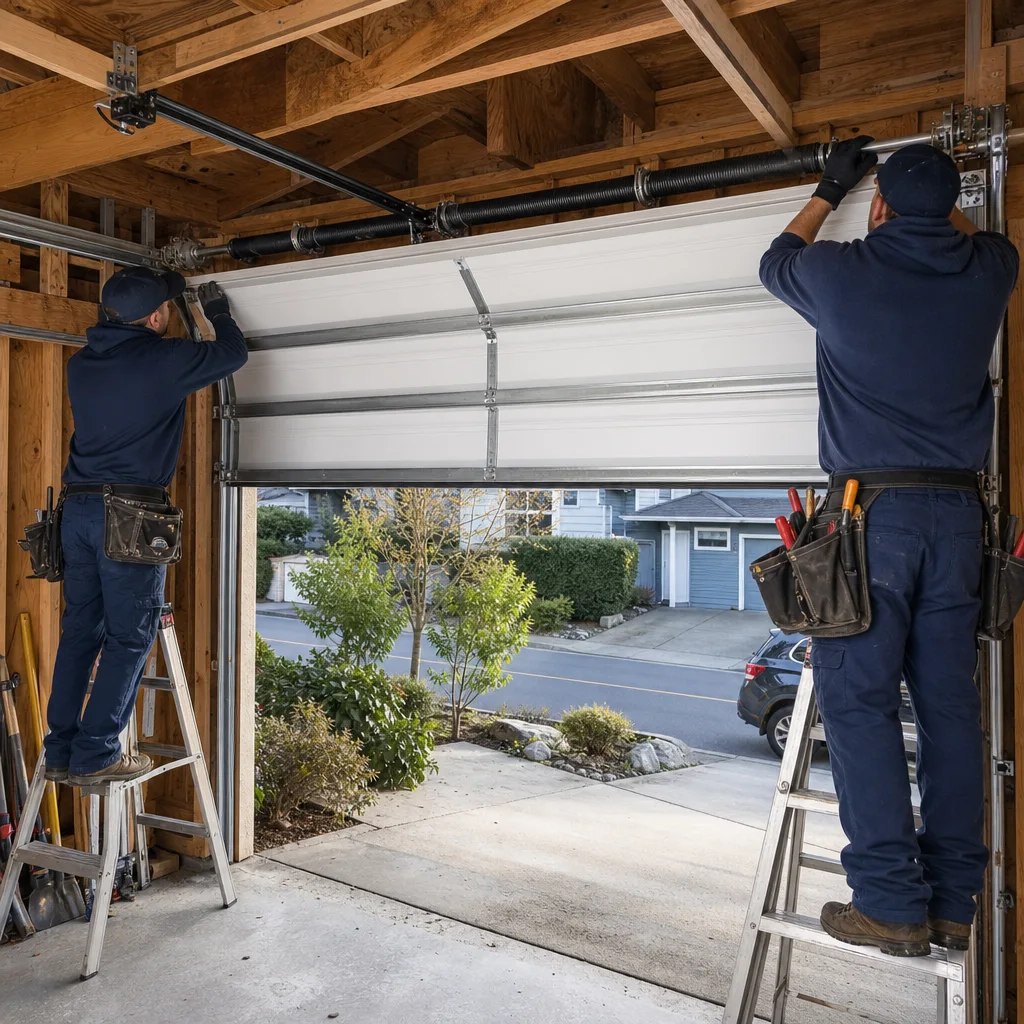
This is the factor most DIY guides omit entirely. A professional garage door repair produces a paper trail. A DIY repair produces nothing. The gap matters more than homeowners expect.
What Professional Documentation Includes
At Servo Garage Doors Tacoma home, every job closes with three documents:
- Written scope and flat price: Signed before work begins, per Clause 1 of The Haven Standard. States exactly what will be done and exactly what it costs.
- Photo record: The technician photographs the failed component before quoting replacement, then photographs completed work. The customer receives these images by text or email. This traces to the founding rule that Servo was built on in 2015.
- Warranty documentation: The 365-Day Done Right Promise is recorded in writing, with terms, not a verbal assurance.
When Documentation Matters
Home inspection during sale: Tacoma’s real estate market moves quickly, but inspectors are thorough. A garage door with no service history, no warranty records, and visible non-standard hardware becomes a negotiation point. We’ve been called by listing agents in North Tacoma and Fircrest to document and certify doors before closing - emergency calls that cost the seller rush rates because no prior documentation existed.
Insurance claims: After a spring failure damages a vehicle or injures a person, insurers request maintenance records. “I did it myself” with no photos, no specifications, and no warranty documentation weakens your position significantly.
Product warranty: Craftsman, Raynor, LiftMaster, and other major brands honor warranties only with proof of professional installation and service. A DIY repair voids coverage on the door, the opener, or both.
The documentation difference isn’t about trust. It’s about evidence you can produce when someone asks for it.
Three Tacoma DIY Jobs That Make Clear Sense
Some garage door maintenance is genuinely appropriate for homeowners. These three tasks carry minimal risk, require no special tools, and solve common problems we see across Tacoma’s varied housing stock. For a complete list, see our Garage Door Repair Maintenance Checklist for Tacoma Homeowners.
1. Replacing the Bottom Weatherseal
Tacoma’s wet winters and the salt air from Commencement Bay accelerate weatherseal deterioration. A cracked or flattened seal lets water, leaves, and rodents into the garage. Replacement is straightforward:
- Raise the door to full open position and clamp it, or disconnect the opener and manually hold the door at waist height.
- Locate the retainer channel at the bottom of the door - a U-shaped aluminum or vinyl track that holds the rubber or vinyl seal.
- Pull the old seal from one end. If it’s stuck, lubricate with silicone spray and work it free gradually.
- Feed the new seal into the channel from one end, working across. The seal’s T-shaped or bead-shaped top slides into the channel.
- Trim excess length with a utility knife. The seal should compress slightly against the floor when the door closes, but not bunch or fold.
Stop here. If the retainer channel itself is bent, rusted through, or pulling away from the door bottom, that’s structural. Call a professional.
2. Adjusting Travel Limits on the Opener
An opener that doesn’t fully open or reverses before closing fully often has misadjusted travel limits. The limit switches are mechanical or electronic stops that tell the motor when to quit.
- Locate the limit adjustment on the opener housing. On Chamberlain and LiftMaster chain-drive units, these are typically screwdriver-turned dials marked “Up” and “Down” or “Open” and “Close.” On newer belt-drive units, they may be electronic buttons with LED indicators.
- Make quarter-turn adjustments (or single-button presses) and test with the remote. Never stand under the door during testing.
- If the door reverses during closing and the opener lights flash, the force sensitivity may also need adjustment - but force settings affect safety reverse function. Adjust these only if you’re confident in your understanding; otherwise, this is where to call for Garage Door Opener Repair & Installation in Tacoma.
3. Realigning Photo-Eyes
The photo-eyes (safety sensors) sit 4-6 inches above the floor on each side of the door track. They must face each other precisely. Misalignment is the #1 cause of doors that refuse to close.
- Check for obvious obstructions: spider webs, leaves, snow, or a kicked sensor bracket.
- Clean the lenses with a soft cloth. Tacoma’s pollen season in April-May coats these sensors.
- Verify both sensors show a steady light - typically green on one, amber or red on the other. Blinking indicates misalignment.
- Loosen the mounting bracket screw, adjust the sensor until the light steadies, then retighten. A string pulled taut between sensors confirms alignment.
- Test by closing the door, then passing a broom handle through the beam. The door should reverse within 2 seconds.
If both lights are dark, check the wiring connections at the opener and at each sensor. If lights remain dark after connection checks, the sensor or wiring has failed. Replacement requires electrical testing - stop and call.
When DIY Fails: The Correction Cost Nobody Talks About
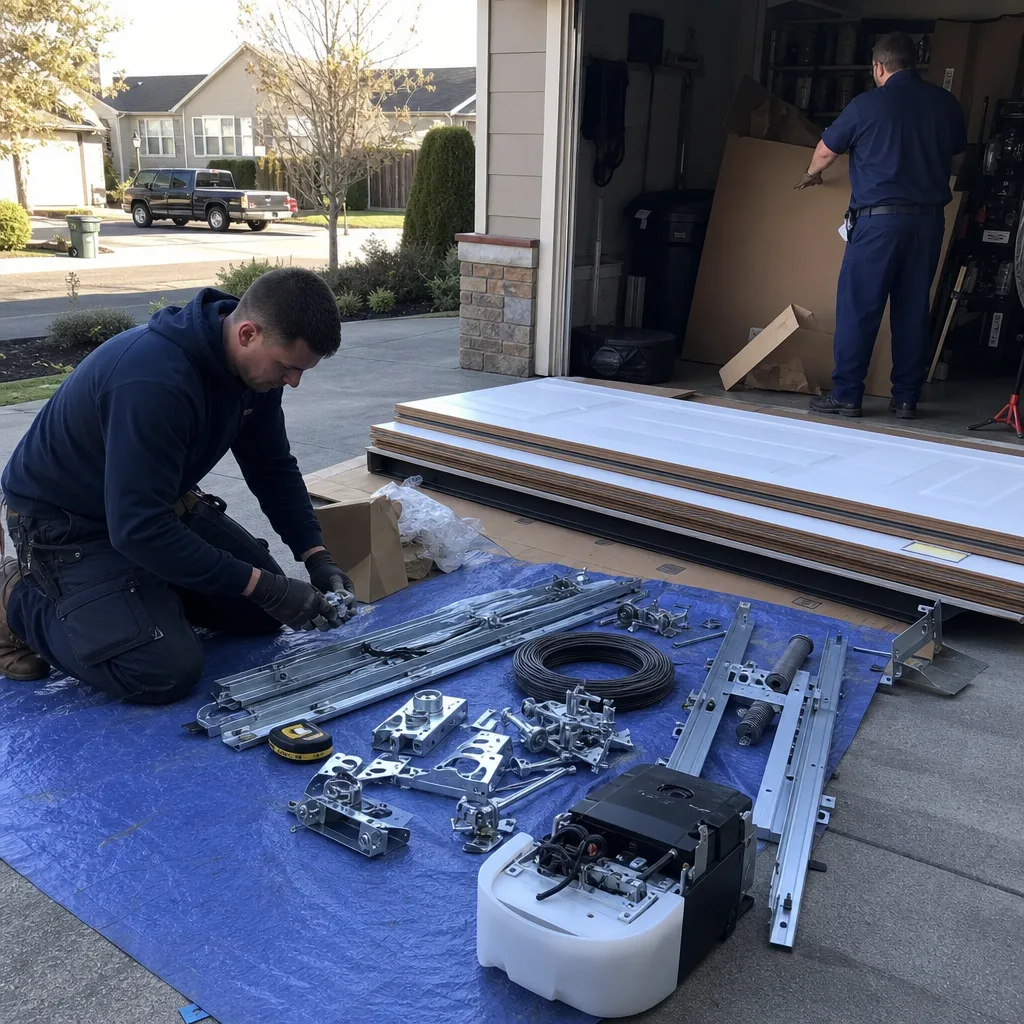
Failed DIY garage door work falls into predictable categories. We’ve documented these across 18,000+ service calls since 2015, and the patterns are consistent.
The “Close Enough” Spring
A homeowner replaces a torsion spring with a part that matches the door weight “close enough.” The wire diameter is 0.005 inches off. The spring length is 2 inches short. The door operates, but the opener works harder, the cables wear unevenly, and the spring fatigues in 8 months instead of 7-10 years. The correction: remove the incorrect spring, install the correct one, inspect the opener for overload damage, replace worn cables. Cost typically exceeds the original professional installation.
The Unwound Spring That Wasn’t
A homeowner believes they’ve fully unwound the torsion spring. They remove the set screws from the winding cone. The spring still holds two turns of tension. The cone spins, the bar strikes their hand or face, and the emergency room visit follows. We’ve seen this in Tacoma, Puyallup, and Gig Harbor. The force of even “mostly unwound” springs is not intuitive.
The Track “Adjustment”
A door that sticks or makes noise gets a DIY track realignment. The homeowner loosens track bolts, shifts the vertical track by eye, and retightens. The track is now out of plumb. The rollers bind. The door jumps the track within days. Correction requires removing the door, resetting both tracks with a level, and often replacing bent track sections or damaged rollers.
The common thread: DIY failures don’t just cost money to fix. They often damage adjacent components that were fine before the DIY attempt began.
Common Mistakes to Avoid
- Using screwdrivers as winding bars: A torsion spring winding cone requires solid steel bars inserted fully into the cogs. Screwdrivers slip, bend, or shatter. We’ve found screwdriver fragments embedded in garage ceiling drywall in Tacoma’s Eastside after a DIY attempt failed catastrophically.
- Ignoring the door’s actual weight: Springs are specified by wire diameter, inner diameter, and length - but these derive from the door’s weight and track radius. Guessing based on “looks about right” guarantees incorrect spring rate.
- Lubricating the track: The vertical and horizontal tracks guide rollers; they are not friction surfaces. Lubricant on tracks collects Puget Sound area grit and moisture, forming an abrasive paste that accelerates roller and track wear.
- Disconnecting the opener without supporting the door: Pulling the emergency release handle on a properly balanced door is safe. On a door with a broken spring, the door weighs its full 150-200 pounds and will drop immediately. Always verify spring function before releasing the opener.
- Reusing old cables: Cables fray from the inside out. A cable that looks acceptable externally may have 40% of its strands broken internally. When a DIY spring replacement reuses old cables, the cable fails 2-6 months later - often at full door height, with the door free-falling.
- Skipping the safety reverse test: After any opener work, federal law (UL 325) requires testing the safety reverse with a 2×4 laid flat in the door’s path. The door must reverse on contact. Many DIY guides omit this test entirely.
When to Call a Professional
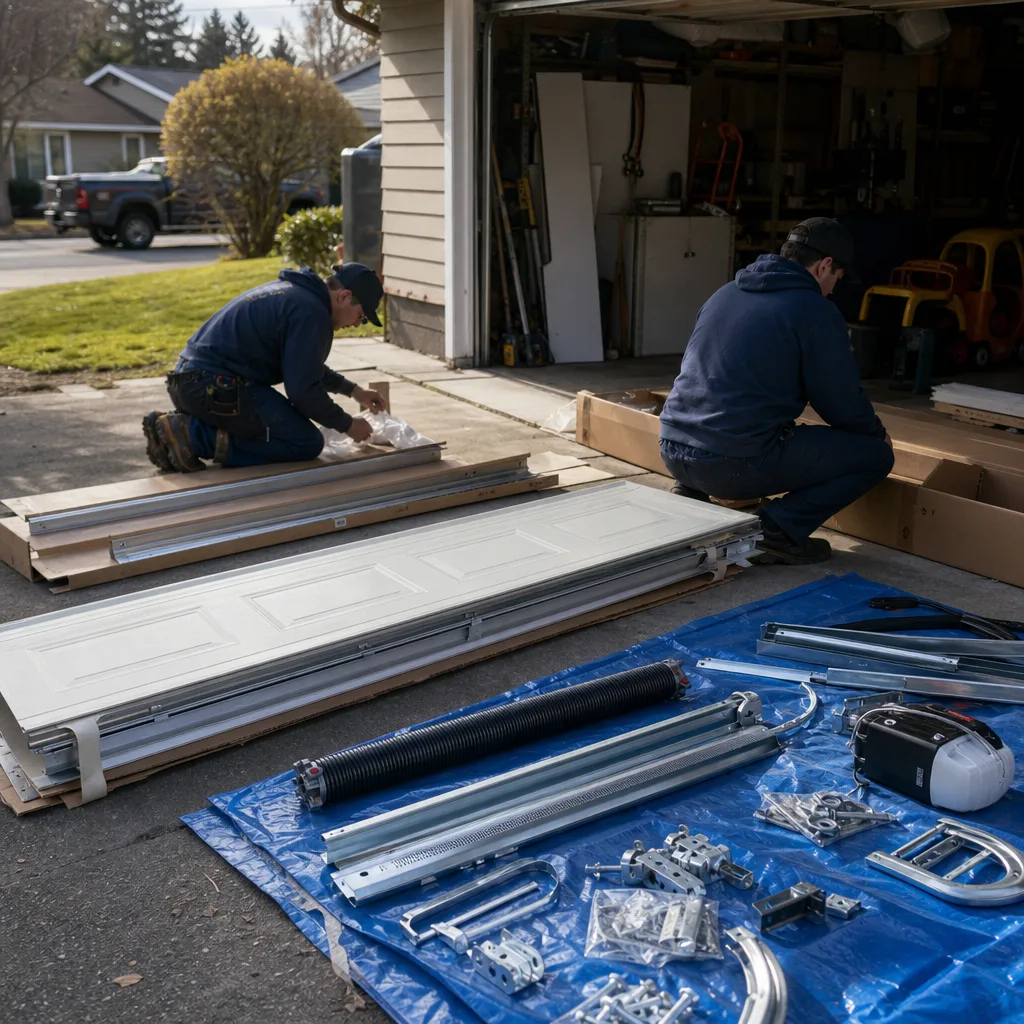
Call a professional when the component you’re considering touches any of these: stored mechanical energy over 50 ft-lbs, 120V electrical circuits, structural load-bearing attachment points, or manufacturer warranty terms you intend to preserve.
Specifically in Tacoma: if your home was built between 1945 and 1985 and still has its original garage door hardware, the spring system may predate modern safety standards. We’ve found un-safety-cabled extension springs in North Tacoma bungalows and original torsion hardware with no winding cones in Proctor-area homes. These systems are not candidates for DIY anything.
Servo Garage Doors Tacoma offers free estimates in Tacoma - call (253) 666-6264. Every estimate includes a written, flat price before any work starts, per Clause 1 of The Haven Standard. Our technicians carry a documented photo record system on every visit, and our 365-Day Done Right Promise applies to every repair we perform.
Frequently Asked Questions
Torsion spring replacement in Tacoma typically runs $180-340 for a standard single spring on a residential door, including parts, labor, and disposal. Double-spring systems or high-lift track configurations run higher. We provide a flat, written price before any work starts - call (253) 666-6264 for an exact quote; estimates are free.
Yes, on your own owner-occupied single-family residence, Washington law does not require a contractor license for garage door work. However, your homeowners insurance may deny claims for damage caused by improperly performed work, and manufacturer warranties require professional installation. The legal permission does not eliminate the financial and physical risks.
No. At Servo Garage Doors Tacoma, the written price we provide before work starts is the price you pay. Clause 1 of The Haven Standard prohibits starting work without a signed, flat-price scope. If we discover additional issues during inspection, we document them, quote them separately, and obtain your approval before proceeding. The original quoted work proceeds at the original price regardless.
Yes. Our technicians stock torsion and extension springs for all eight major brands we service, including common Clopay, Amarr, and Wayne Dalton configurations used in Tacoma homes. Same-day spring replacement is standard for calls received before 2 PM. For Garage Door Repair in Tacoma, we aim to complete the job in a single visit.
A broken torsion spring produces specific symptoms: the door feels extremely heavy when manually lifted, the opener strains or fails to lift the door, you may see a visible gap in the spring coil, or you hear a loud bang from the garage (the spring releasing its stored energy). If you suspect a broken spring, do not operate the door. The full weight of the door is now unsupported, and the opener will damage itself trying to lift it.
It can. Tacoma’s active real estate market includes buyers who request maintenance documentation for major systems. A garage door with no professional service history, no warranty documentation, and visible non-standard hardware becomes a flagged inspection item. Professional repairs with written documentation transfer cleanly to new owners; DIY repairs do not.
The Bottom Line
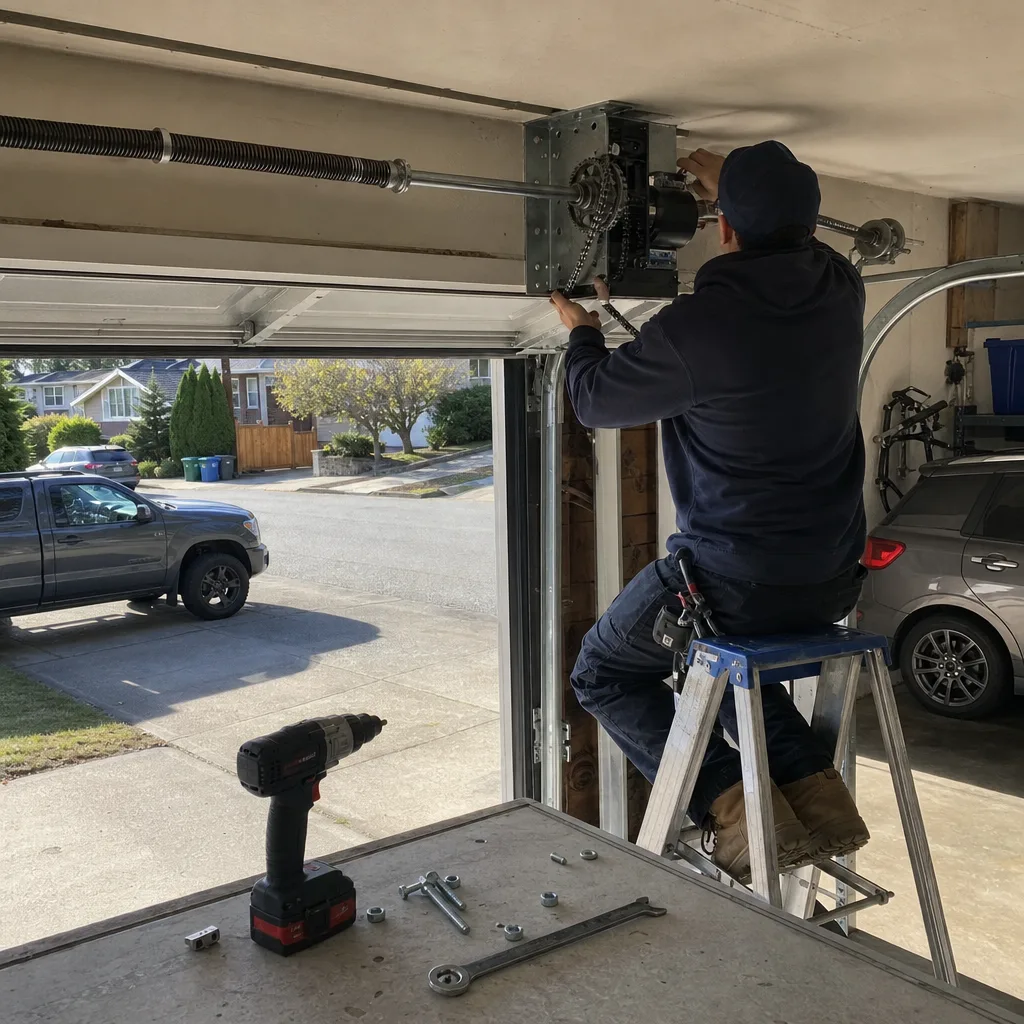
The DIY-versus-professional decision for garage doors is a component-specific risk calculation, not a general statement about homeowner capability. For more guides & resources on garage door safety and maintenance, explore our blog. Photo-eyes, weatherseals, and keypad programming are genuinely appropriate DIY territory. Torsion springs, cables, bottom brackets, and electrical internals are not. The true cost of DIY includes tools, time, the correction expense when something goes wrong, and the documentation gap that affects insurance claims and home resale. For components in the trained-only zone, the price difference between DIY parts and professional installation is narrower than it first appears - and the professional job comes with a written price, a warranty, and a photo record you can use later.
Written by Marcus Deller, Owner at Servo Garage Doors Tacoma, serving Tacoma since 2015.